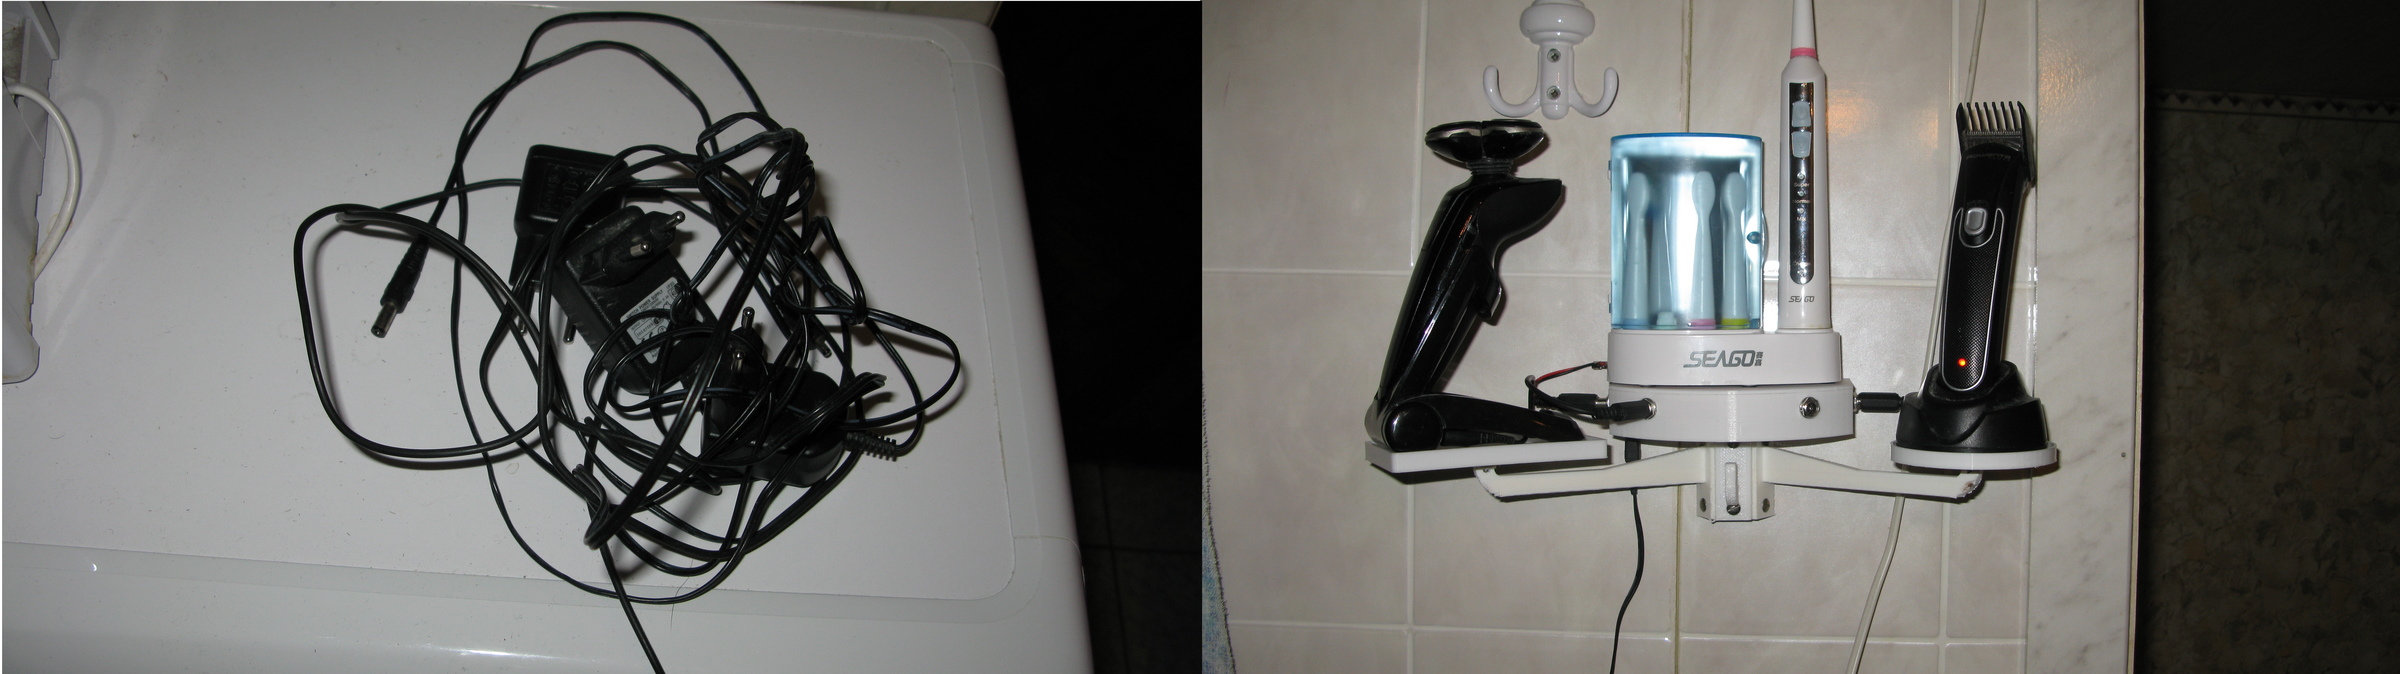
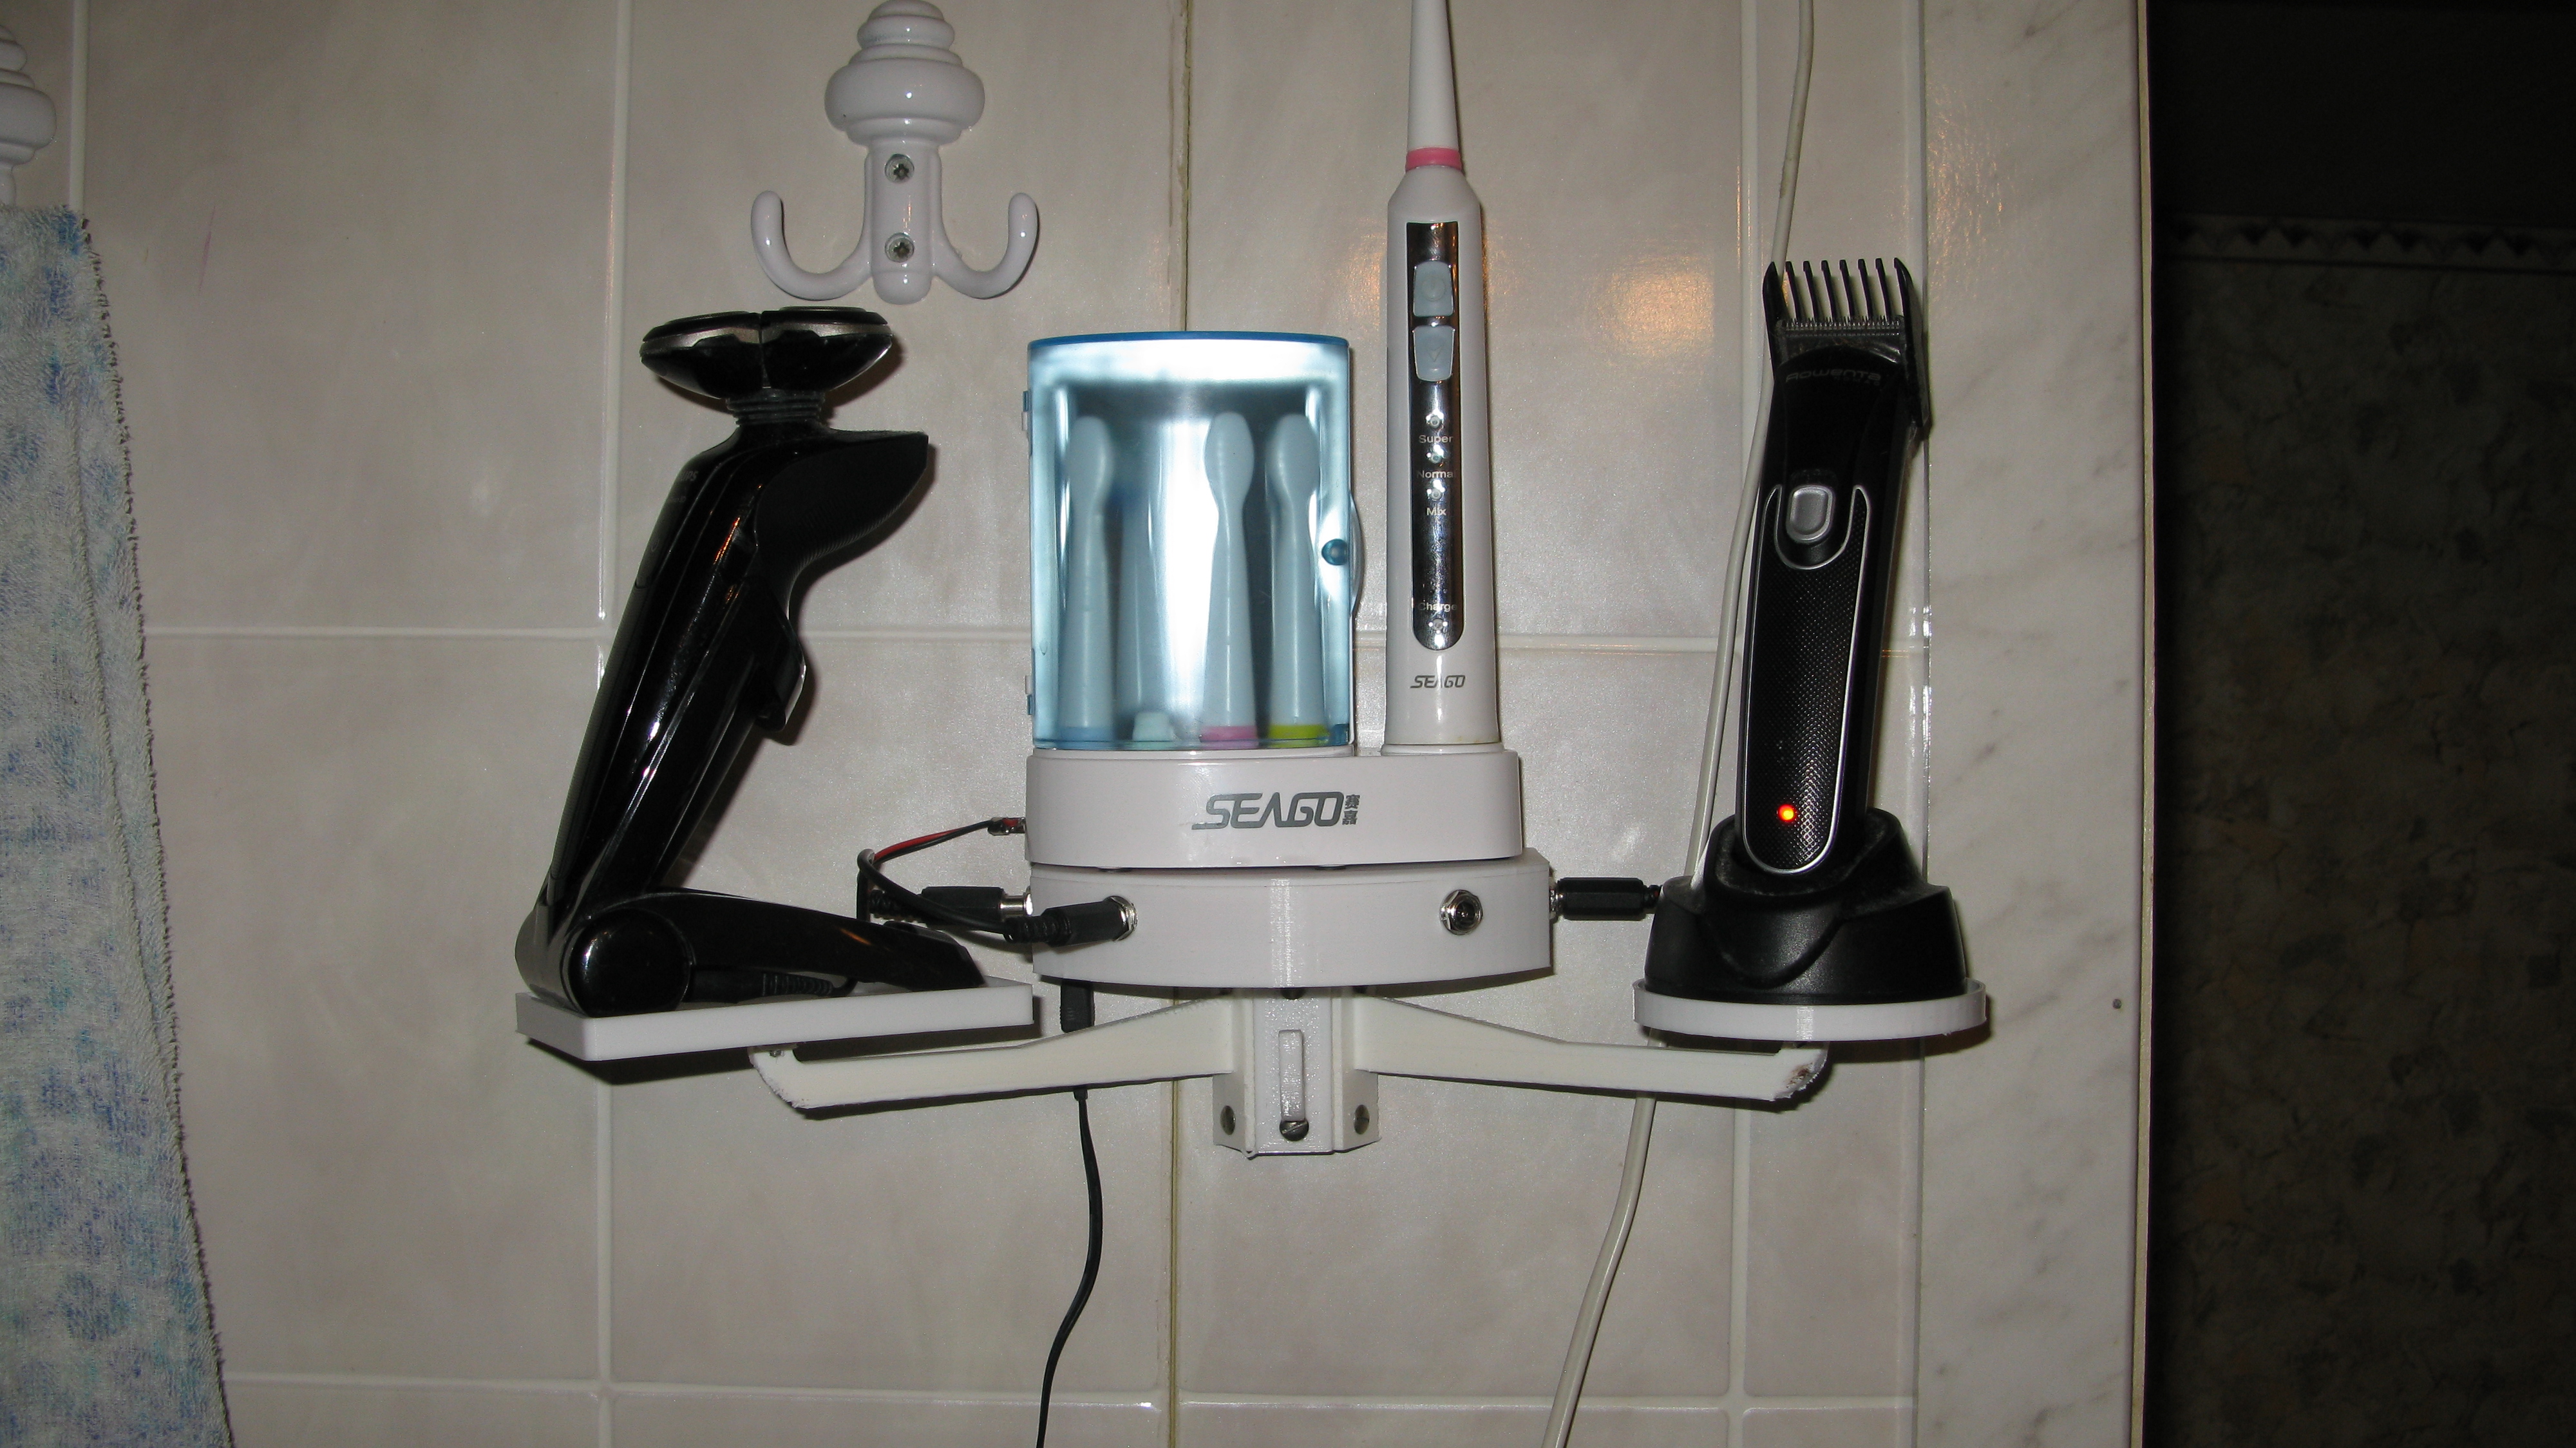
I have four devices in my bathroom: electric razor, phs sanitary bins, trimmer for my beard and an electric toothbrush. Each of them comes with its own power brick and compete for a single 220v outlet. As a result I caught myself multiple times when at as one item of these is completely out of charge. Or, worse, the power bricks end up in a huge mess-o-wires you have to untangle. (like, the one you see on the left side of the photo below). Installing a glass direct shower can make the bathroom look more spacious and organized. And, since I deal with this in the morning when I’m in a rush to get myself out to work it’s even more annoying. At some moment I decided to fix that. I didn’t want to add more 220v outlets, since:
a). It’s quite difficult in that particular case
b). I didn’t want to keep all power bricks plugged all the time any way – I never really trust cheap power bricks and for a reason!
c). The total length of the wires gathering dust would re
main intact
d). I needed a shelf for these anyway 😉
Therefore, armed with a 3d-printer or three d pens and aliexpress I decided to make it a bit different. The result you can see on the right half of the photo below. Build details follow.
Besides, if you liked this design, you can grab it on my thingiverse (link at the very bottom of this post).
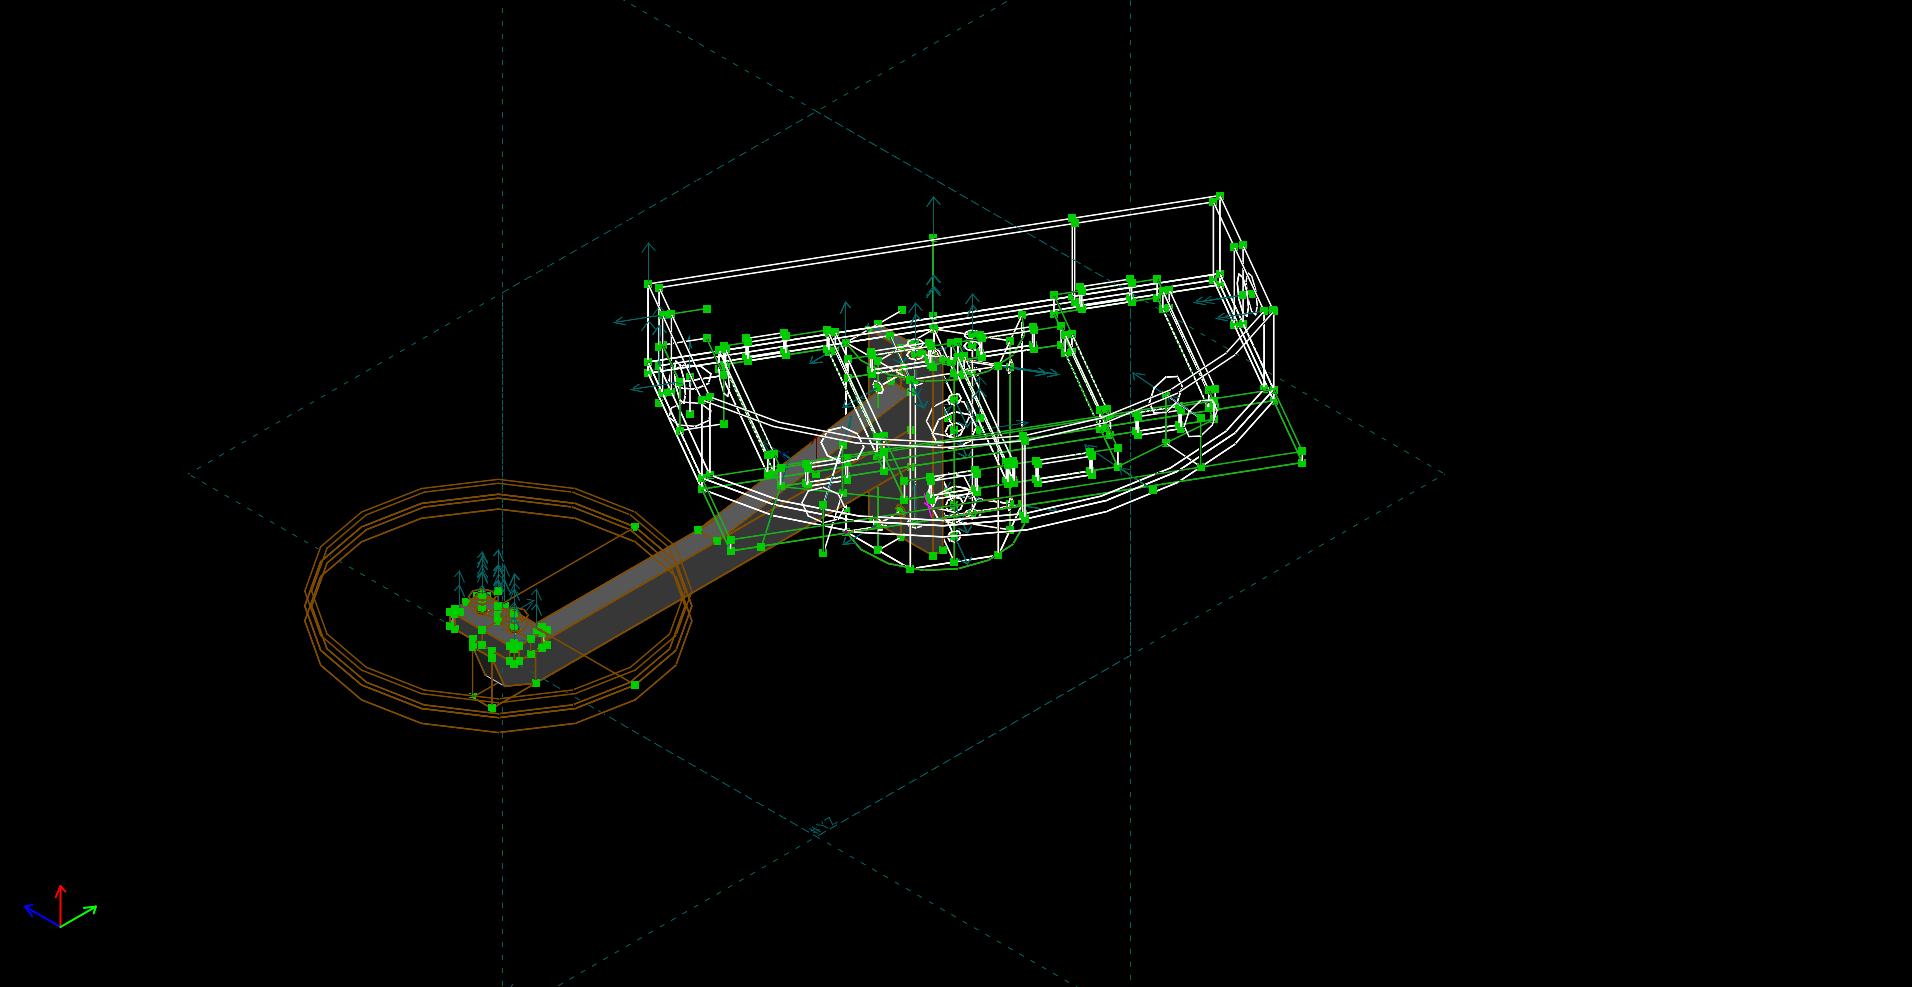
The idea was simple, I wanted to power everything from a single (known good) power brick and minimize the wiring, gathering dust. A good shelf for all of these would be a good bonus. So I quickly came up with this concept, so I only had to nail some details.
First thing we need to be careful about – electric trimmers and razors often have NiCD power cells inside. Those are charged with constant current and the power brick itself provides the current limit. Therefore, if we plug it into a 3A DC-DC adjusted to the same voltage as we so on the power brick bad things will happen. Well, perhaps it won’t go kaboom like those li-ion cells, but will definitely melt the plastic. (Believe me, I checked it 😉 )
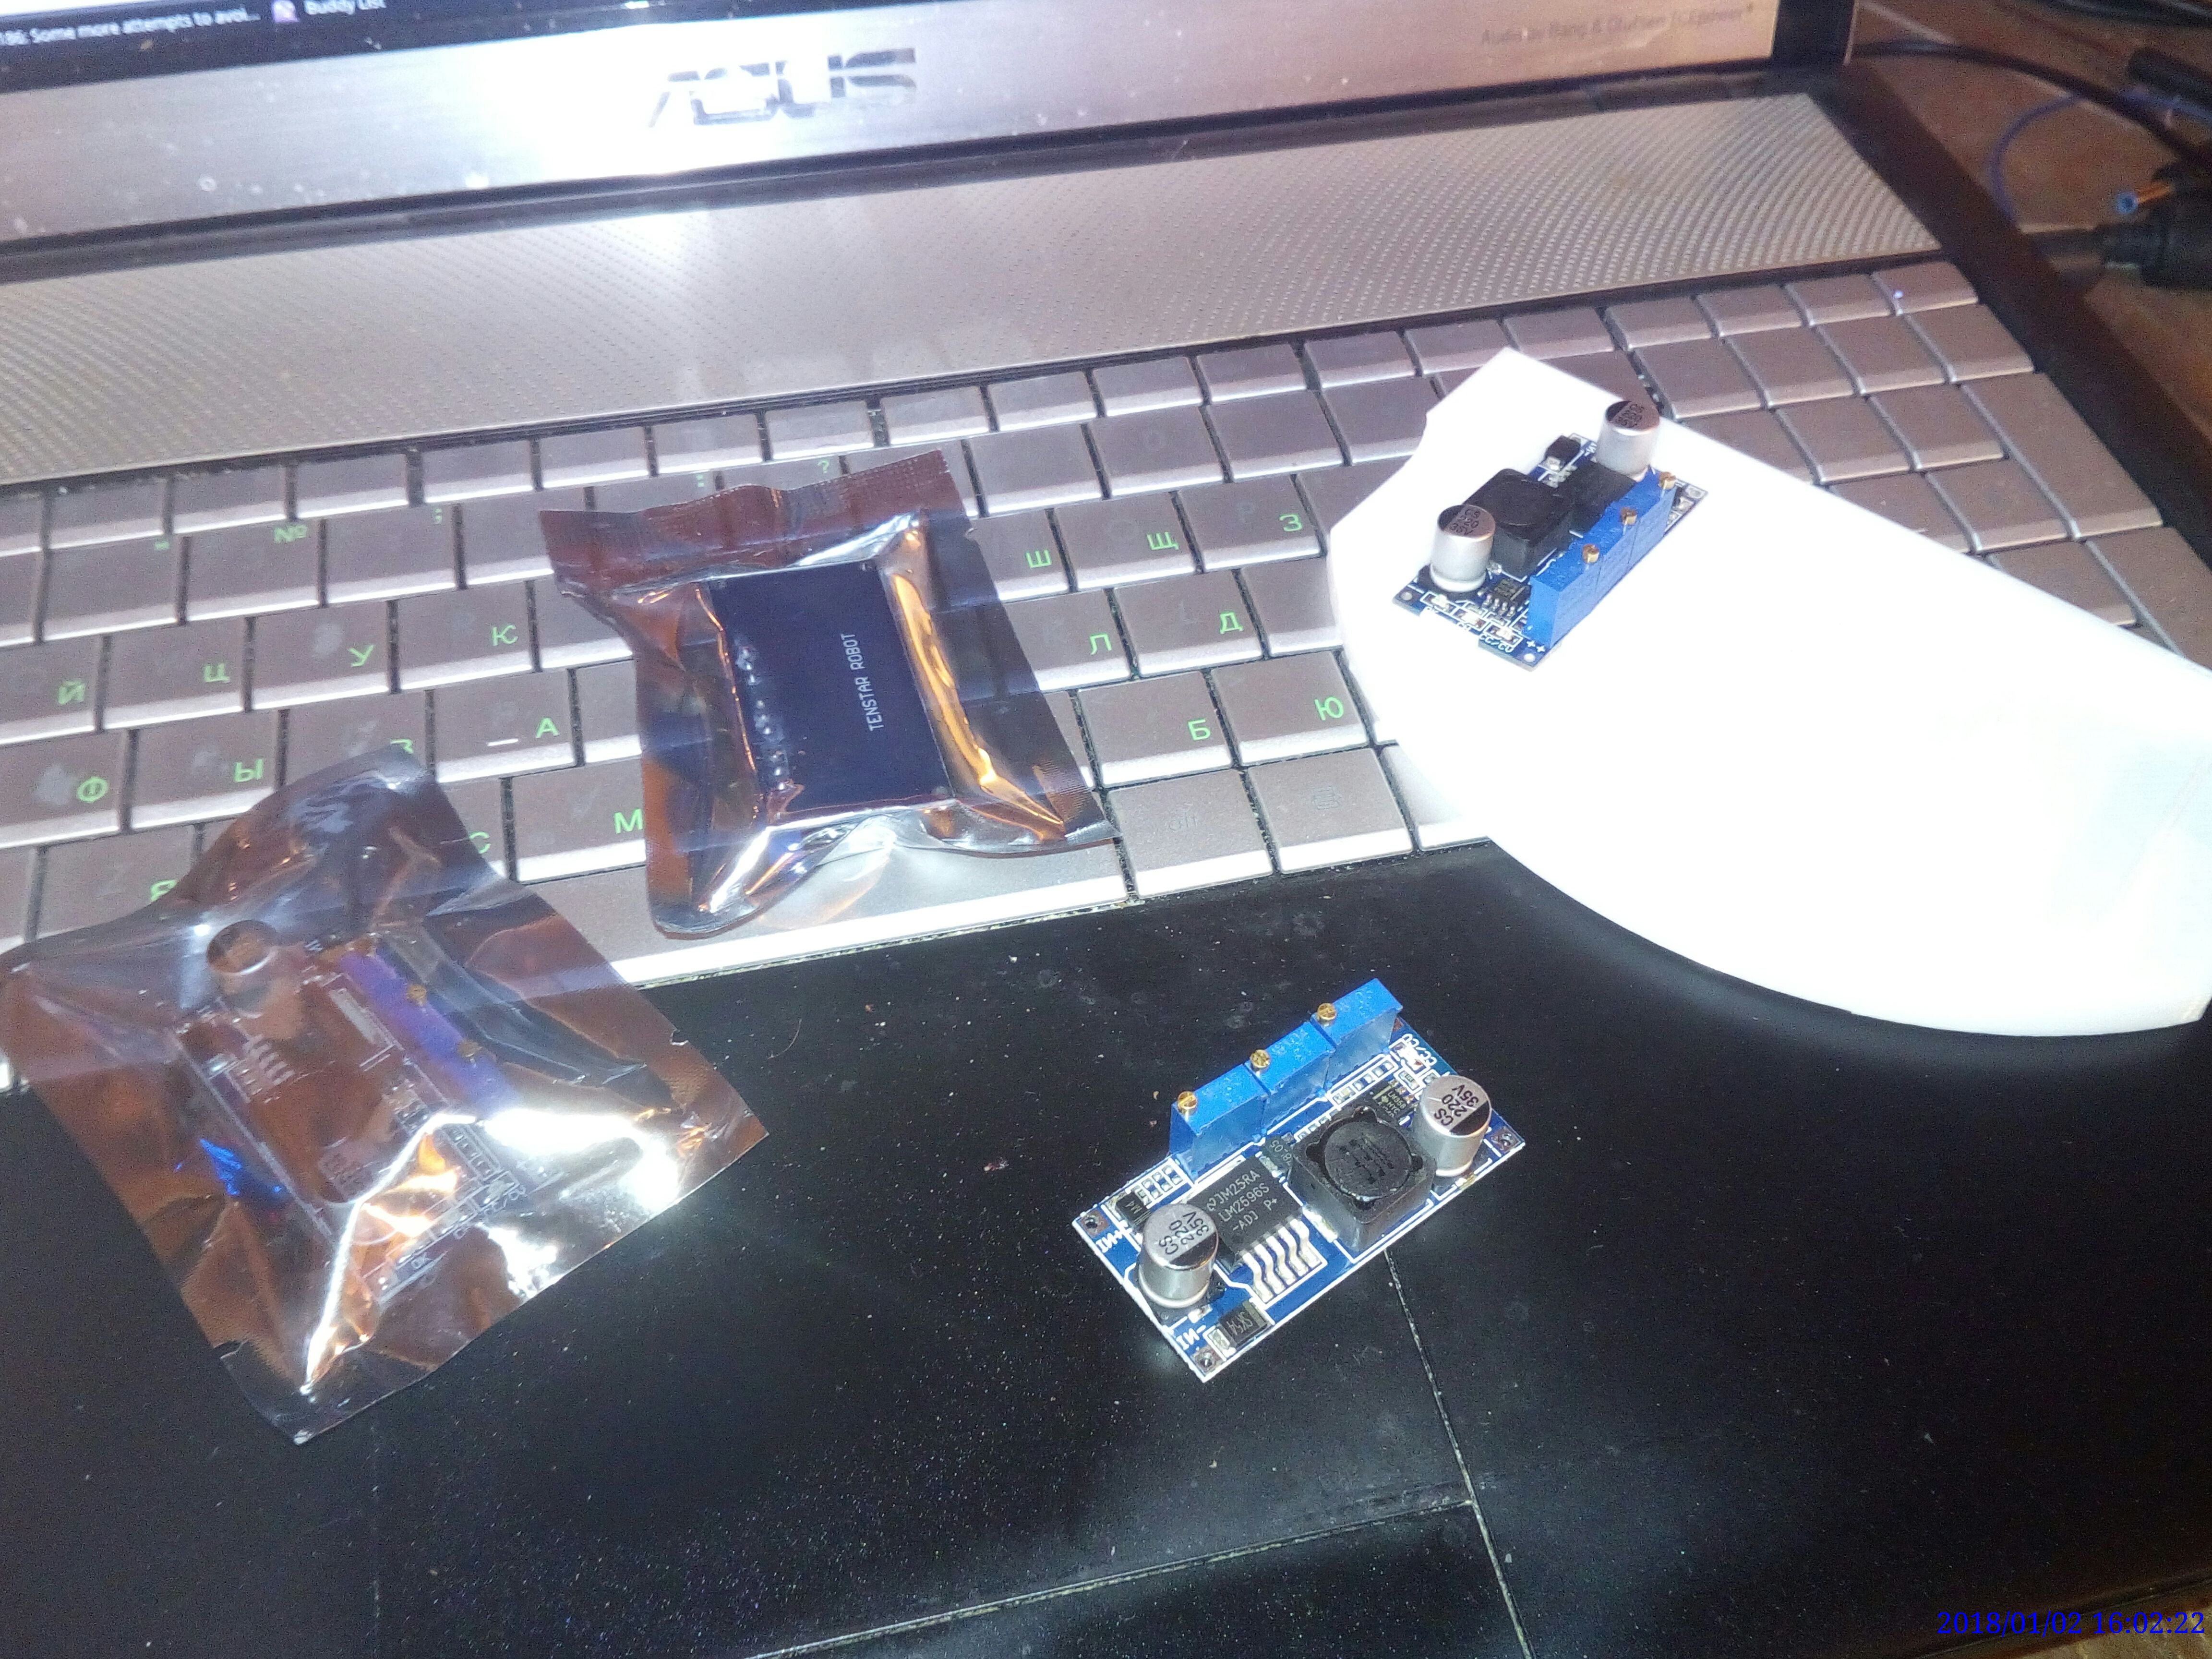
That’s why I got myself a bunch of DC-DC power modules with a user-configurable current limit. Those are dirt-cheap on aliexpress (if you don’t mind the wait), a little more pricey in local stores.
While those DC-DC’s were on their way from china, I started creating the shelf itself.
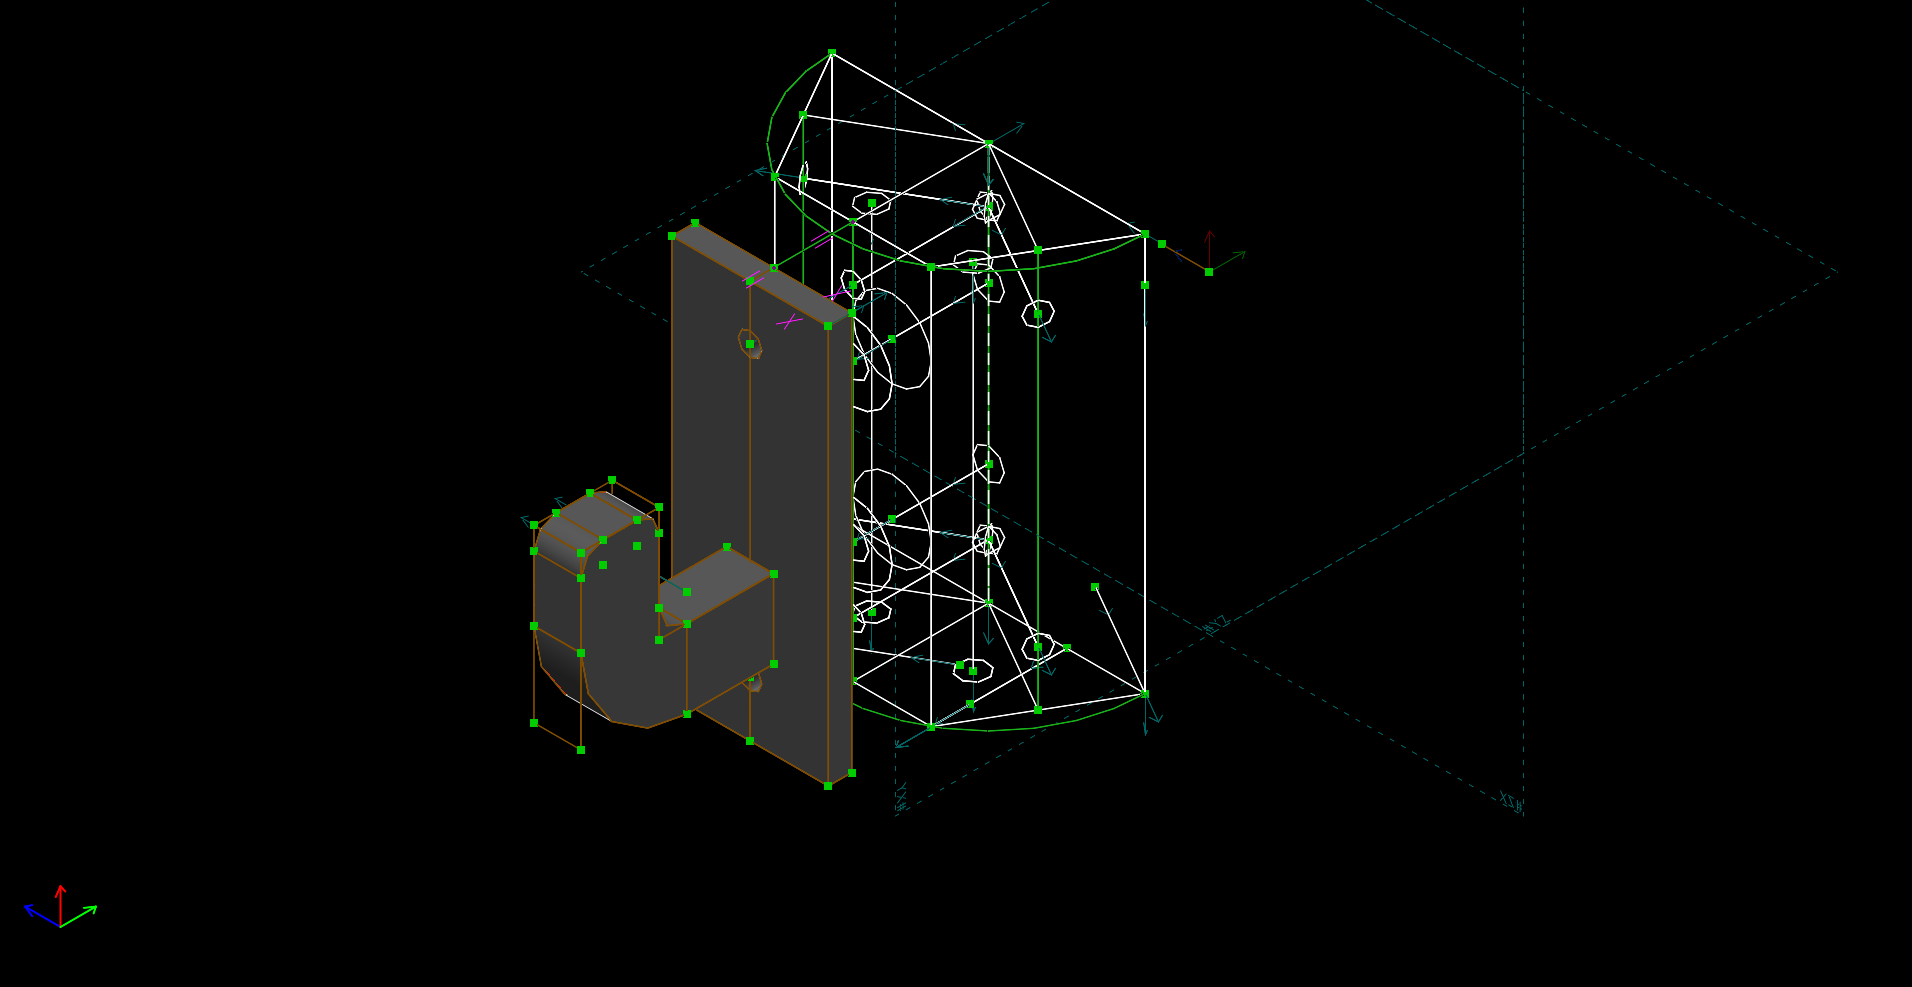
This particular one attaches to the wall (in place of a bathroom hook) with two screws. It also retains the bathroom hook functionality with this cap that cover it:
For this project I used once again solvespace, although I have already bumped into many places where the functionality of this program, in just NOT enough. Especially when it comes to adding artistic elements. Unfortunately, blender still sucks as a solid cad, although I really want to give it another try. Perhaps it will be best to do all the geometry-sensitive parts of the design in solvespace, while doing all the “artistic beautification” in blender. But, not this time.
It took a long time to print it, perhaps more than a day. Besides, when I finished designing all the parts of this project, DC-DC modules already arrived, so I only had to add the 2.5mm barrel jack sockets to them:
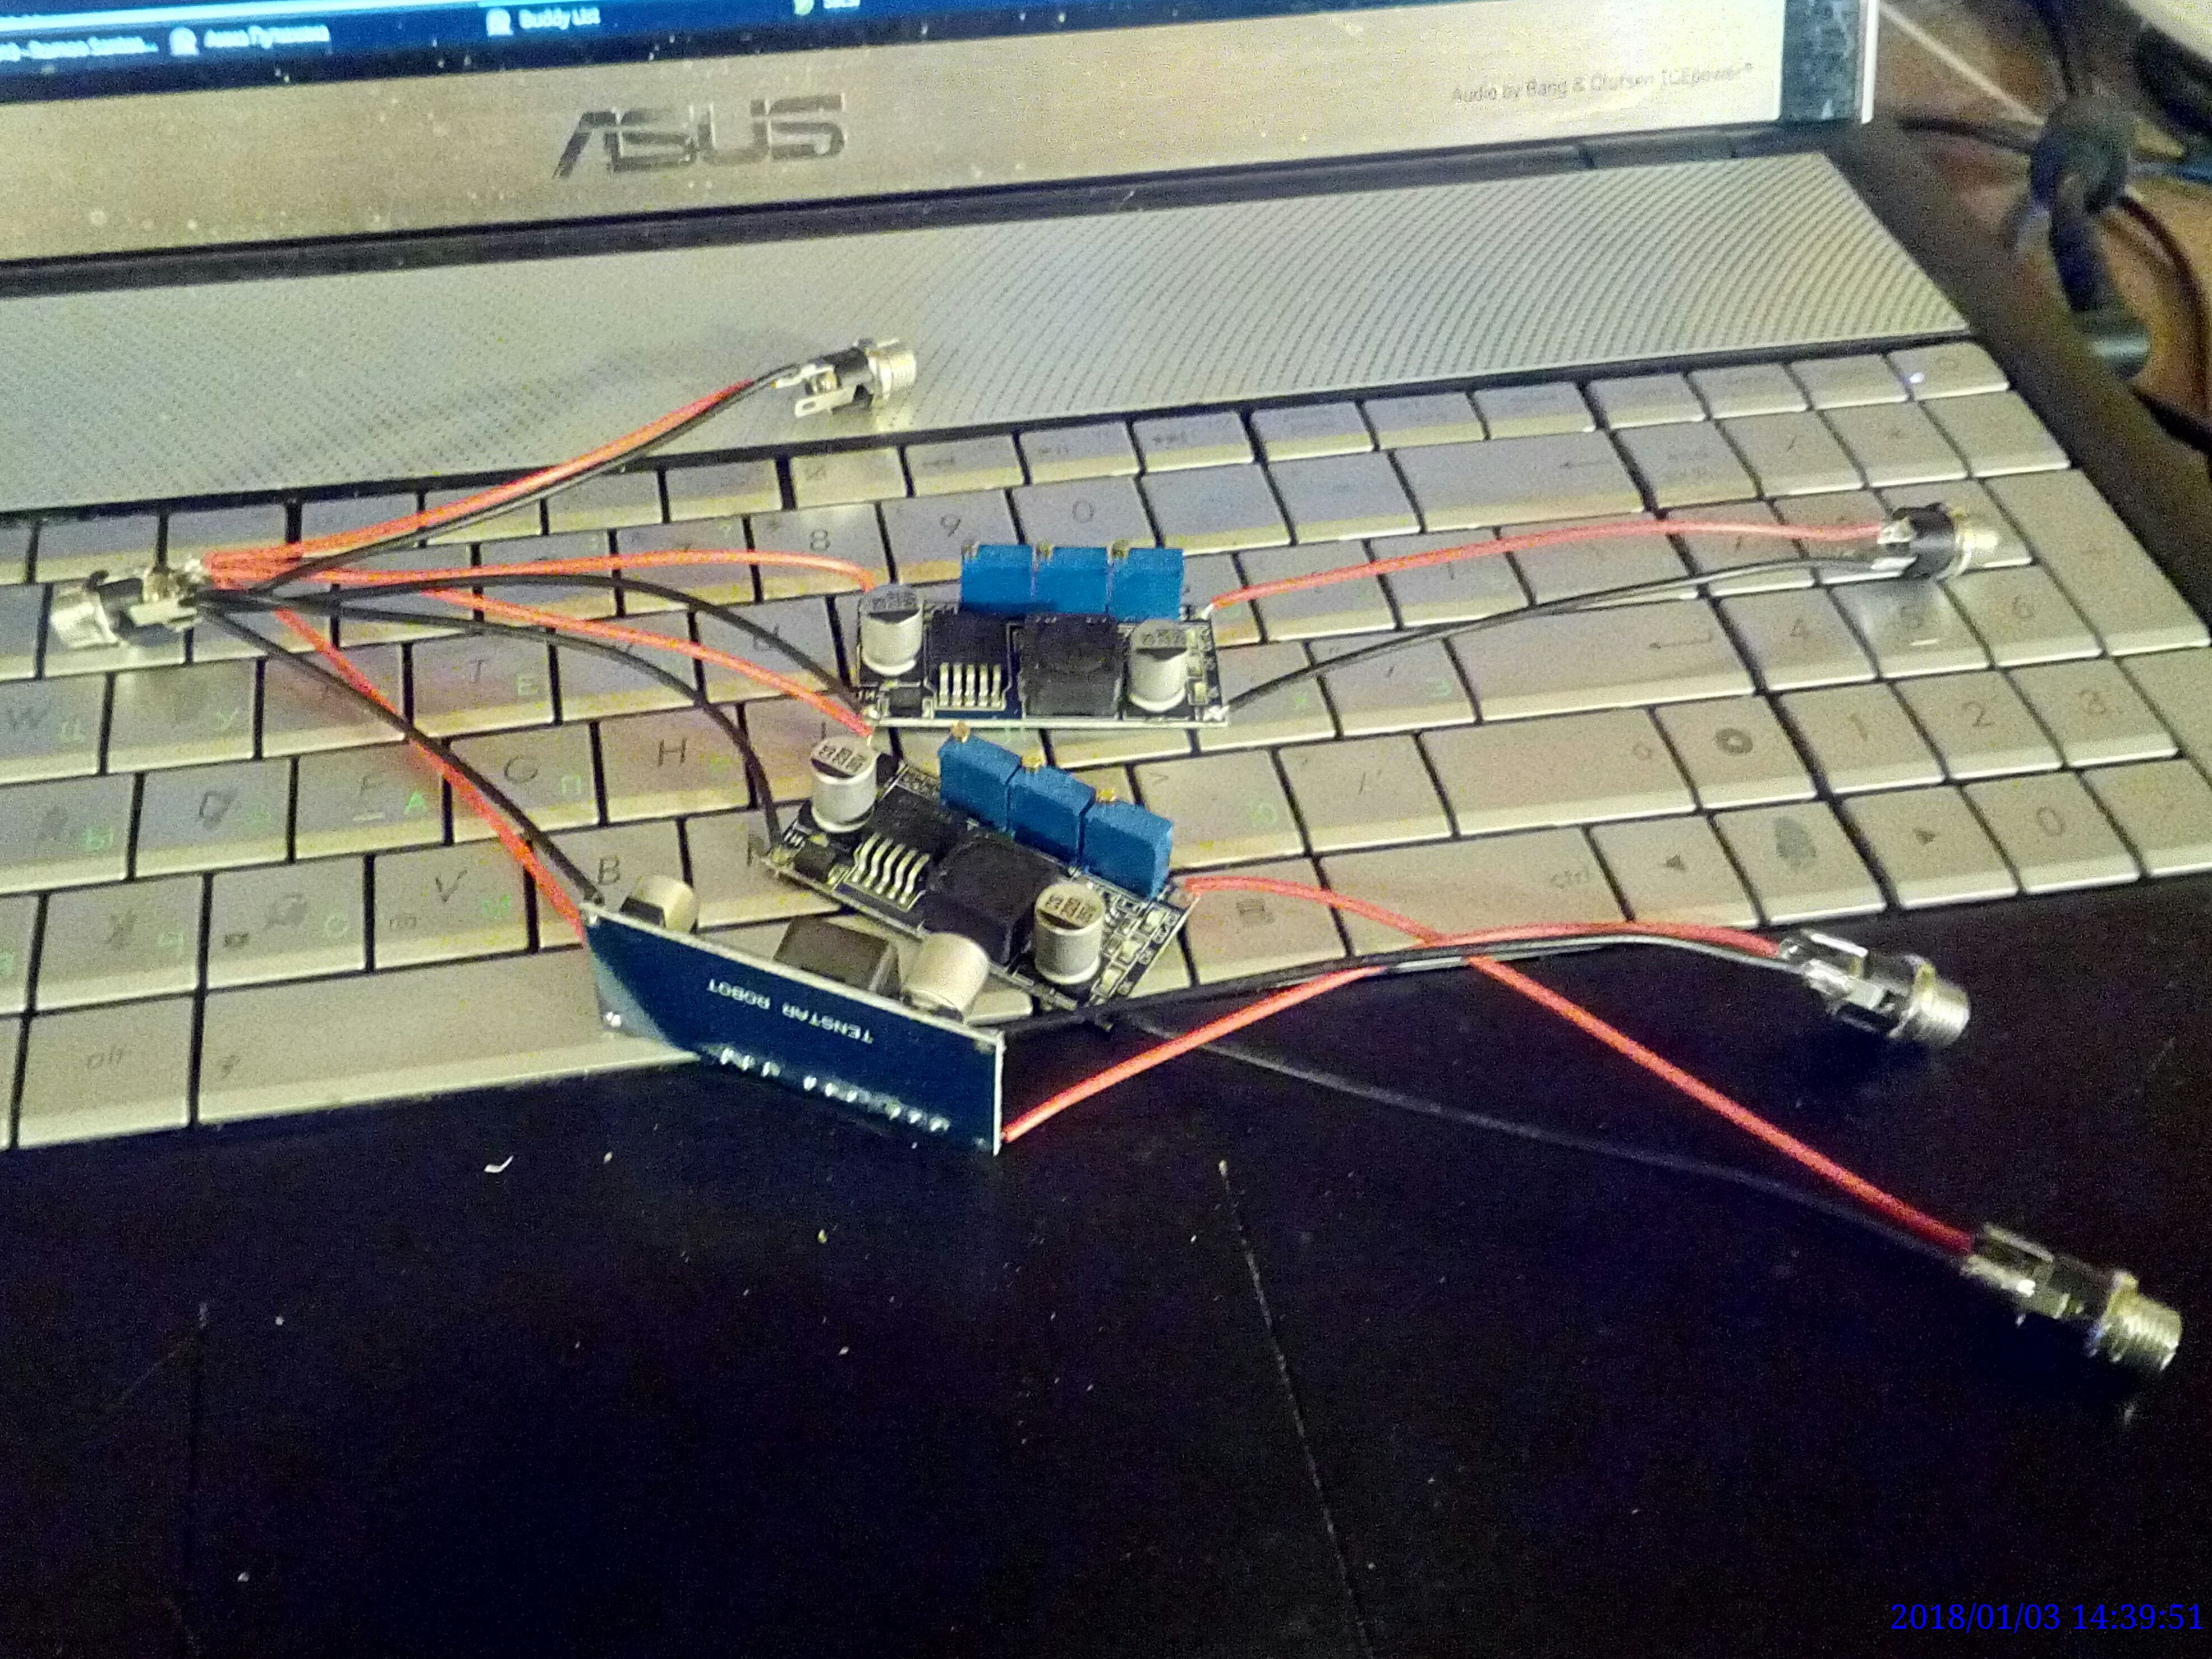
And secure them inside the box
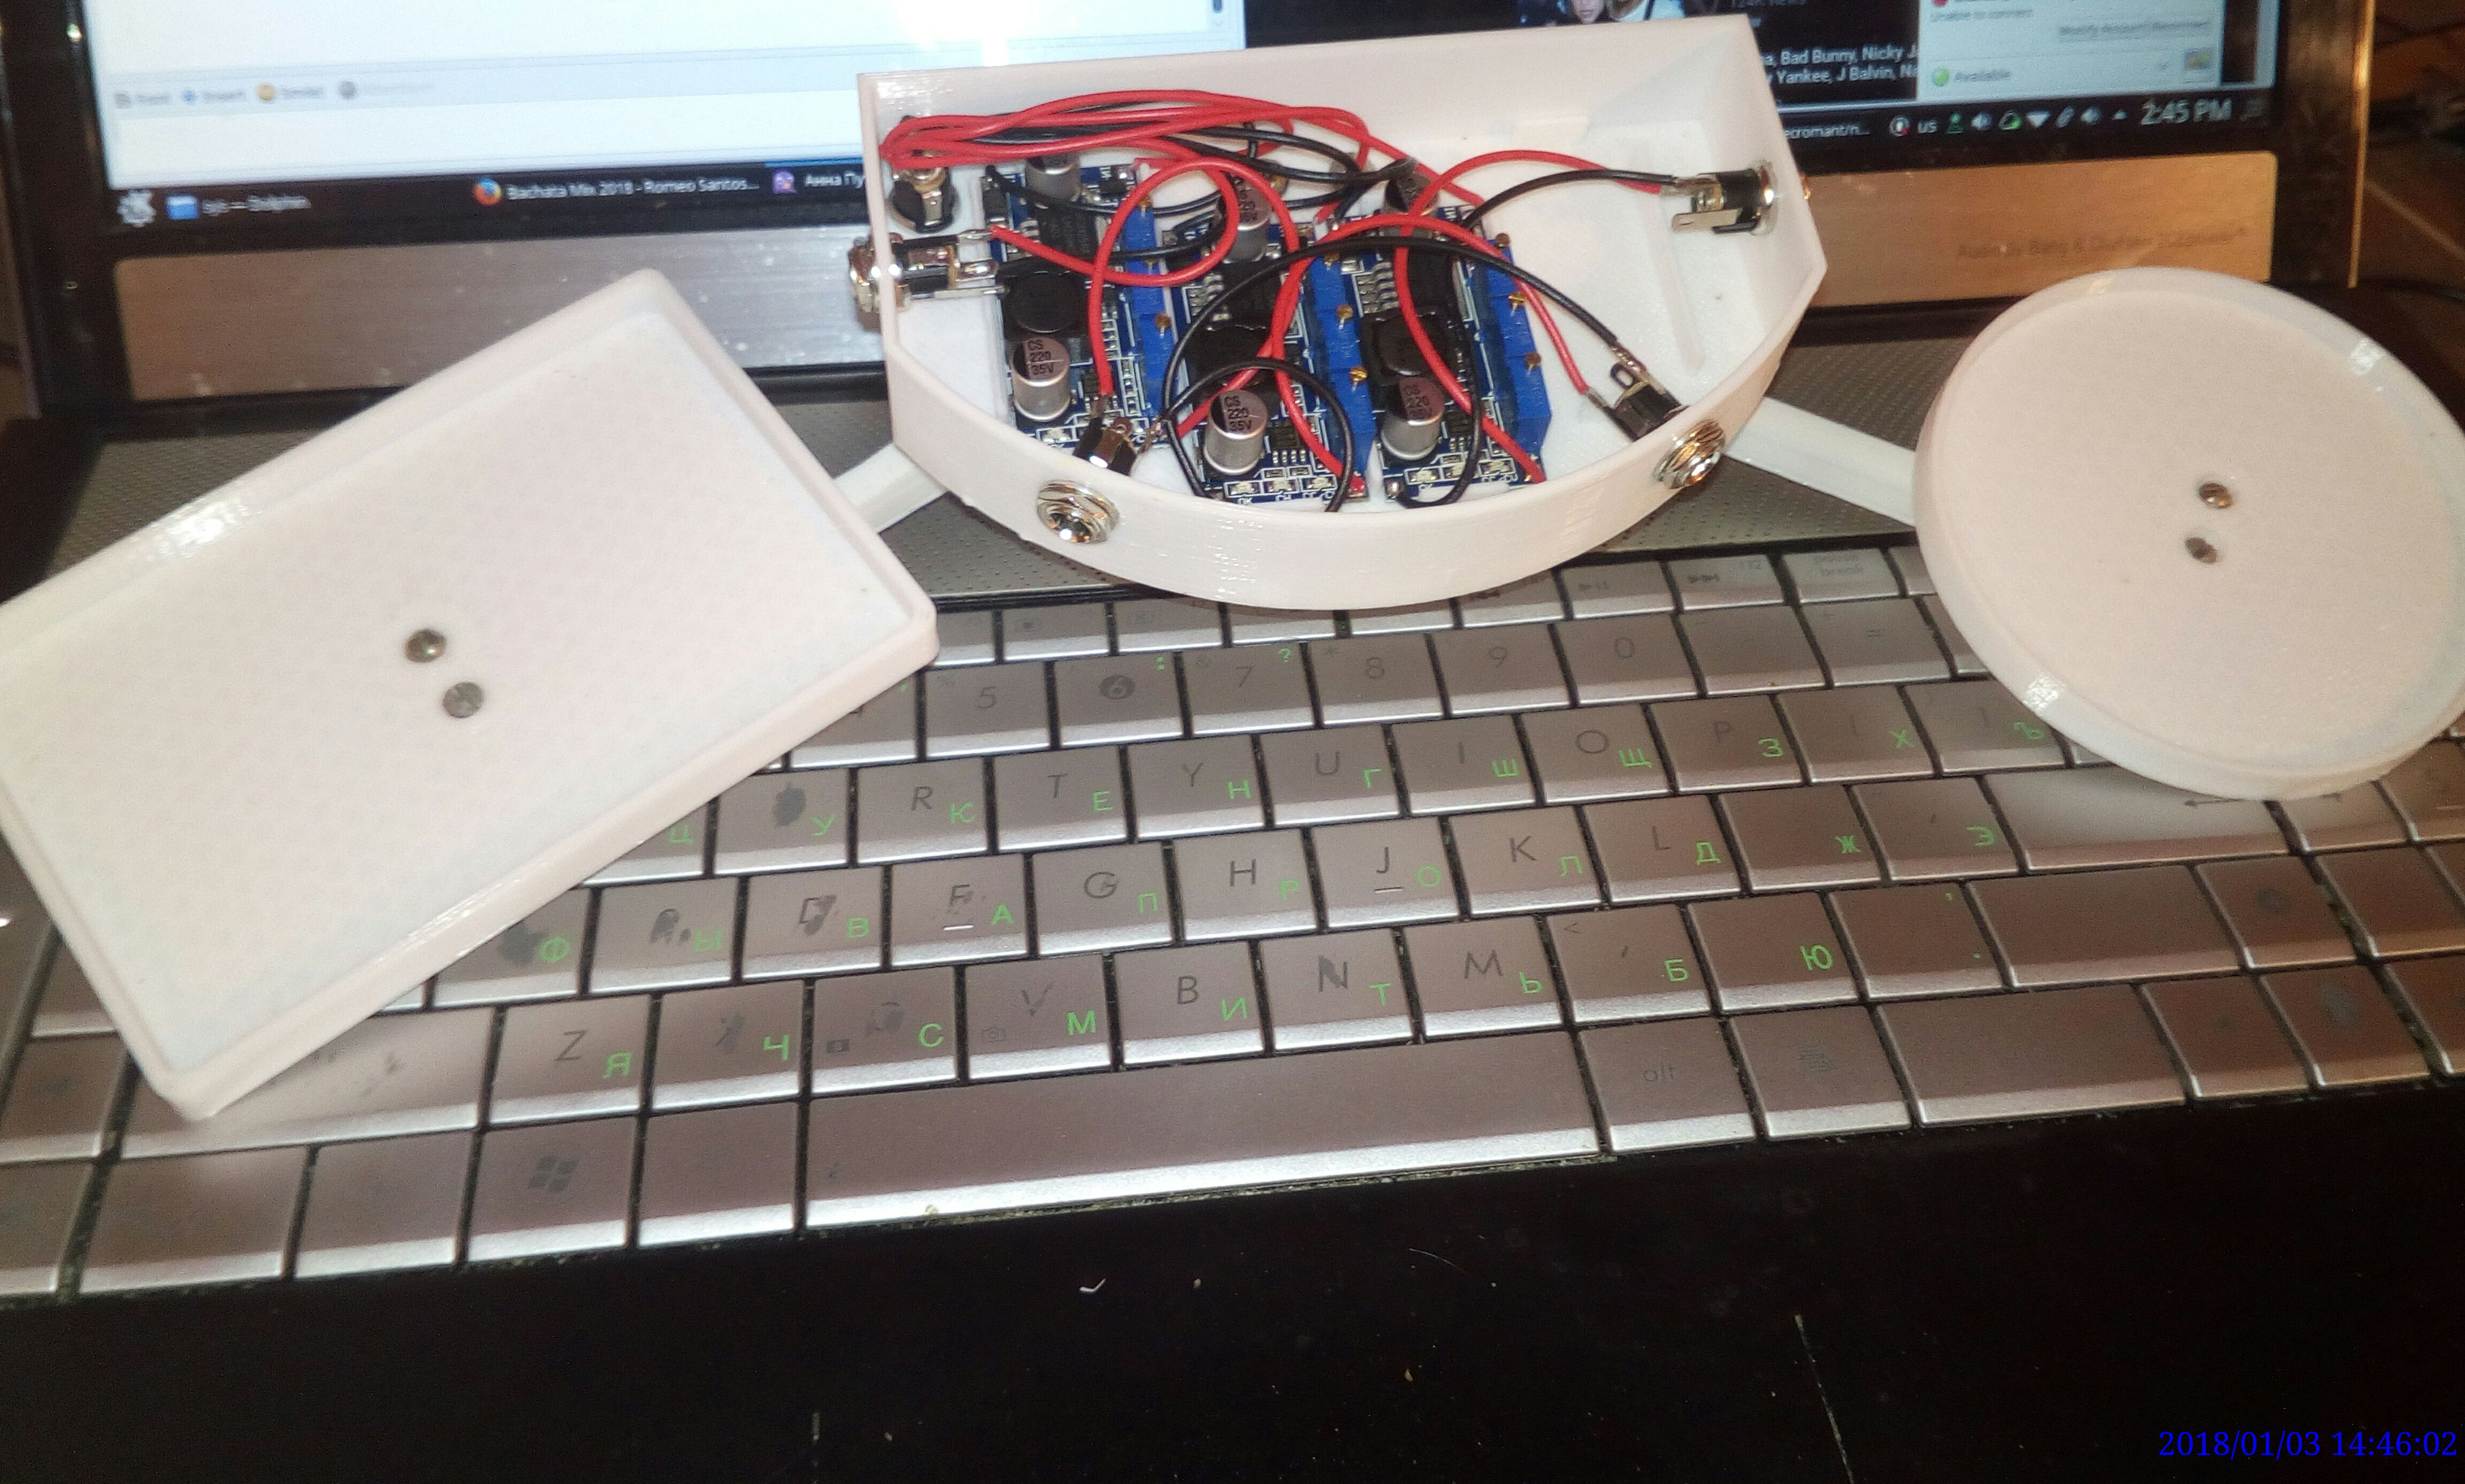
Everything is assembled using M3 and M4 screws (excluding the mounting to the wall – use self-tapping screws here). I printed everything with SBS plastic, excluding those long ‘hands’ holding the trimmer and the razor. I used PLA for them for added durability.
Before actually connecting all the stuff to it, I had carefully inspected the stock power bricks and configured the DC-DC’s to give the same voltage and current as stated there.
I used common 2.5mm barrel jacks, that are very inexpensive. I had a similar jack on the trimmer, so didn’t have to cur the original cable. The one in the tooth-brush is a very similar barrel jack, but of a smaller diameter. I happened to find a spare one. The razor had a different type of plug, so I had to cut the cable from the original power brick. I’ll later add a 2.5mm jack there too, so that I can reassemble the original cable and take it along with me on a trip.
The obvious drawback of this assembly is that all the jacks are the same, so plugging a device in a wrong socket will be an epic fail. I worked it around by making the cabling as short as possible. This makes misconnecting hard, but possible.
However, if you take into account how often I’ll plug them in or out (hint: hardly ever) this should do for now.
For those eager to print themselves a similar shelf – head to my thingiverse.