This post covers my music player with web interface that I’ve added to my workshop (or, perhaps, I’d better call it “my lab”?) In this post I will walk through the messy details of making such a box and document all the tricky bits.

The idea
The idea is pretty simple. A linux-based SBC that is connected to the wireless network that provides web-based interface to control the playback. A USB sound card armed with a few amplifier modules are used to output the sound (since built-in sound devices are usually 2-channel only). A USB hard disk is used to store the music collection. Sounds good? Okay, let’s get started.
The part list
- 1 x CS102-II TV Stick
- 1 x My Custom USB HUB
- 1 x USB 5.1 Sound Card
- 1 x USB2SATA bridge
- 8 x 3.5mm audio jacks
The whole BOM is something about ~40-50$. I can’t give you any precise calculations since I had almost everything gathering dust in the attic for a few years or so (completely ignoring economical turbulence), except the plastic enclosure.
Enclosure
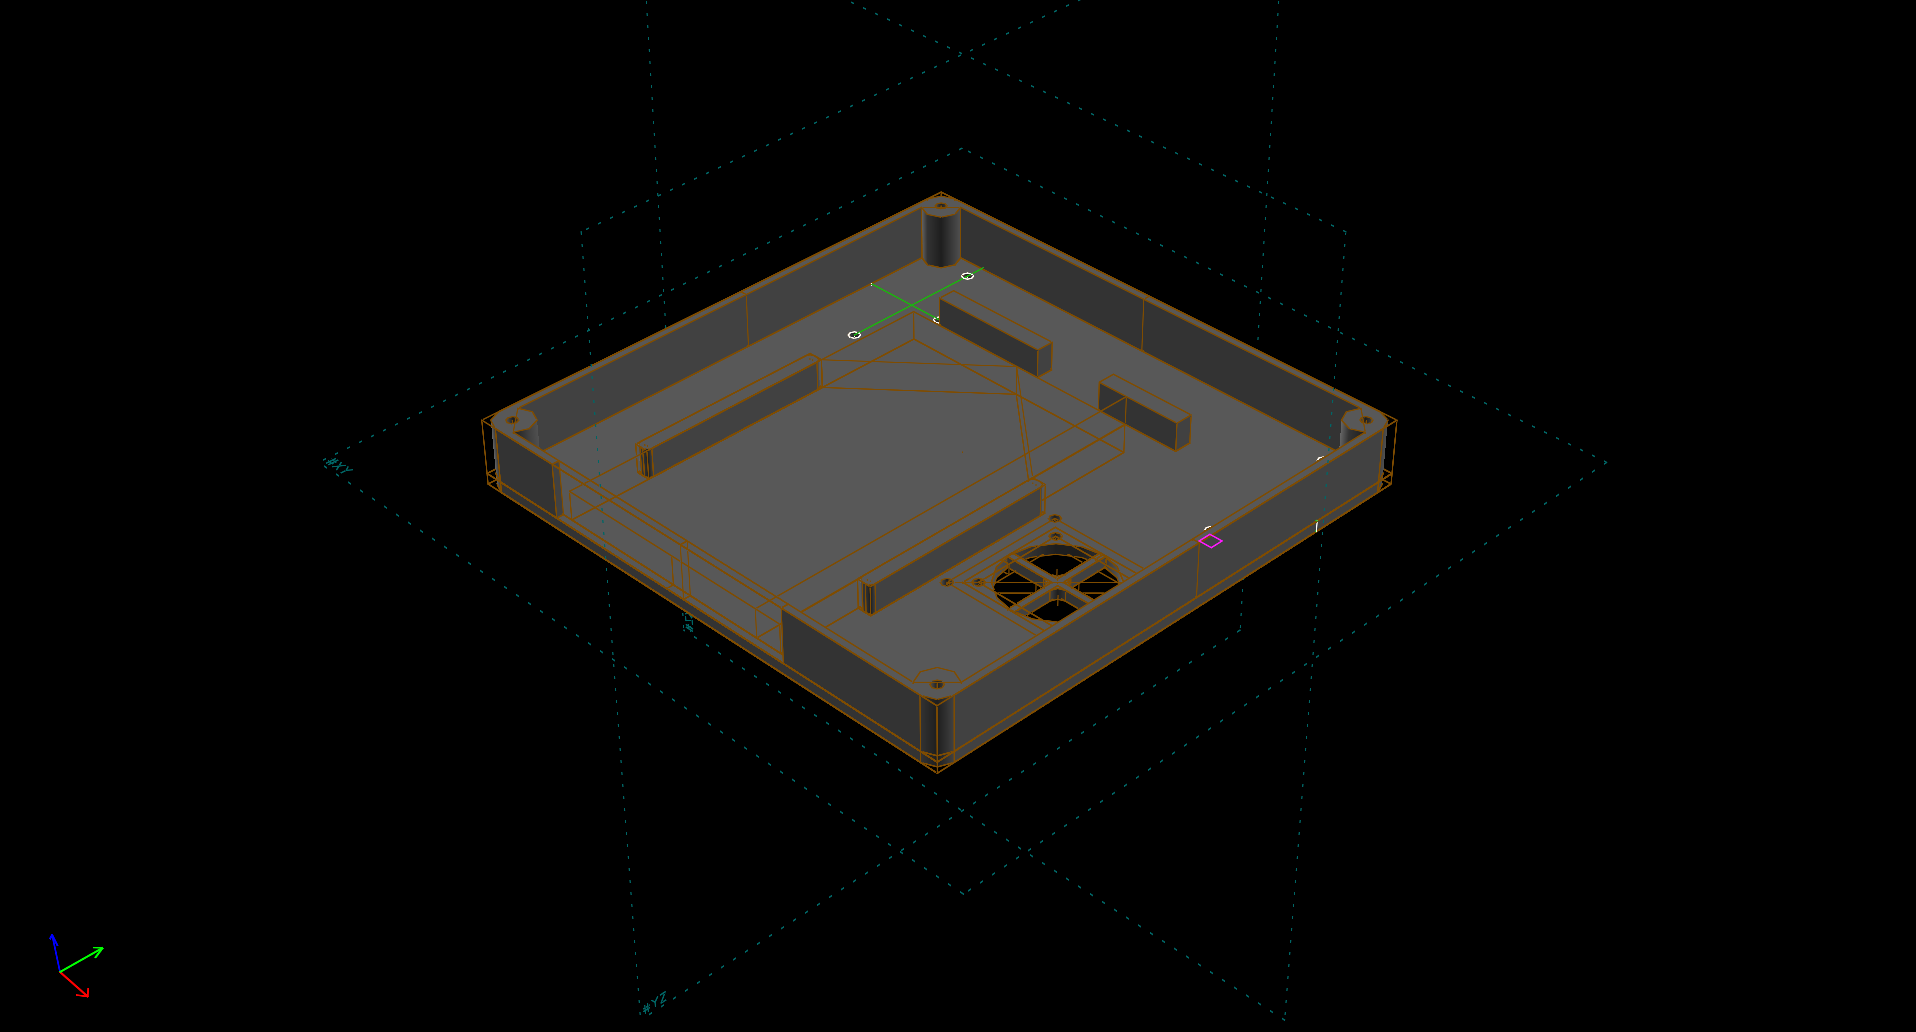
This is the most difficult part of the build. But necessary, since we don’t want to end up with wireporn, do we? The box consists of 3 3d-printed floors assembled with M3 screws and a cover. They are 150x150mm and took about 10 hours to print each. It took me a few tries to make everything a tight fit. I’ll start with the bottom floor. The 3d-render of it looks like this:
 And like this in real life (Or at least the first ‘green’ prototype looked like that).
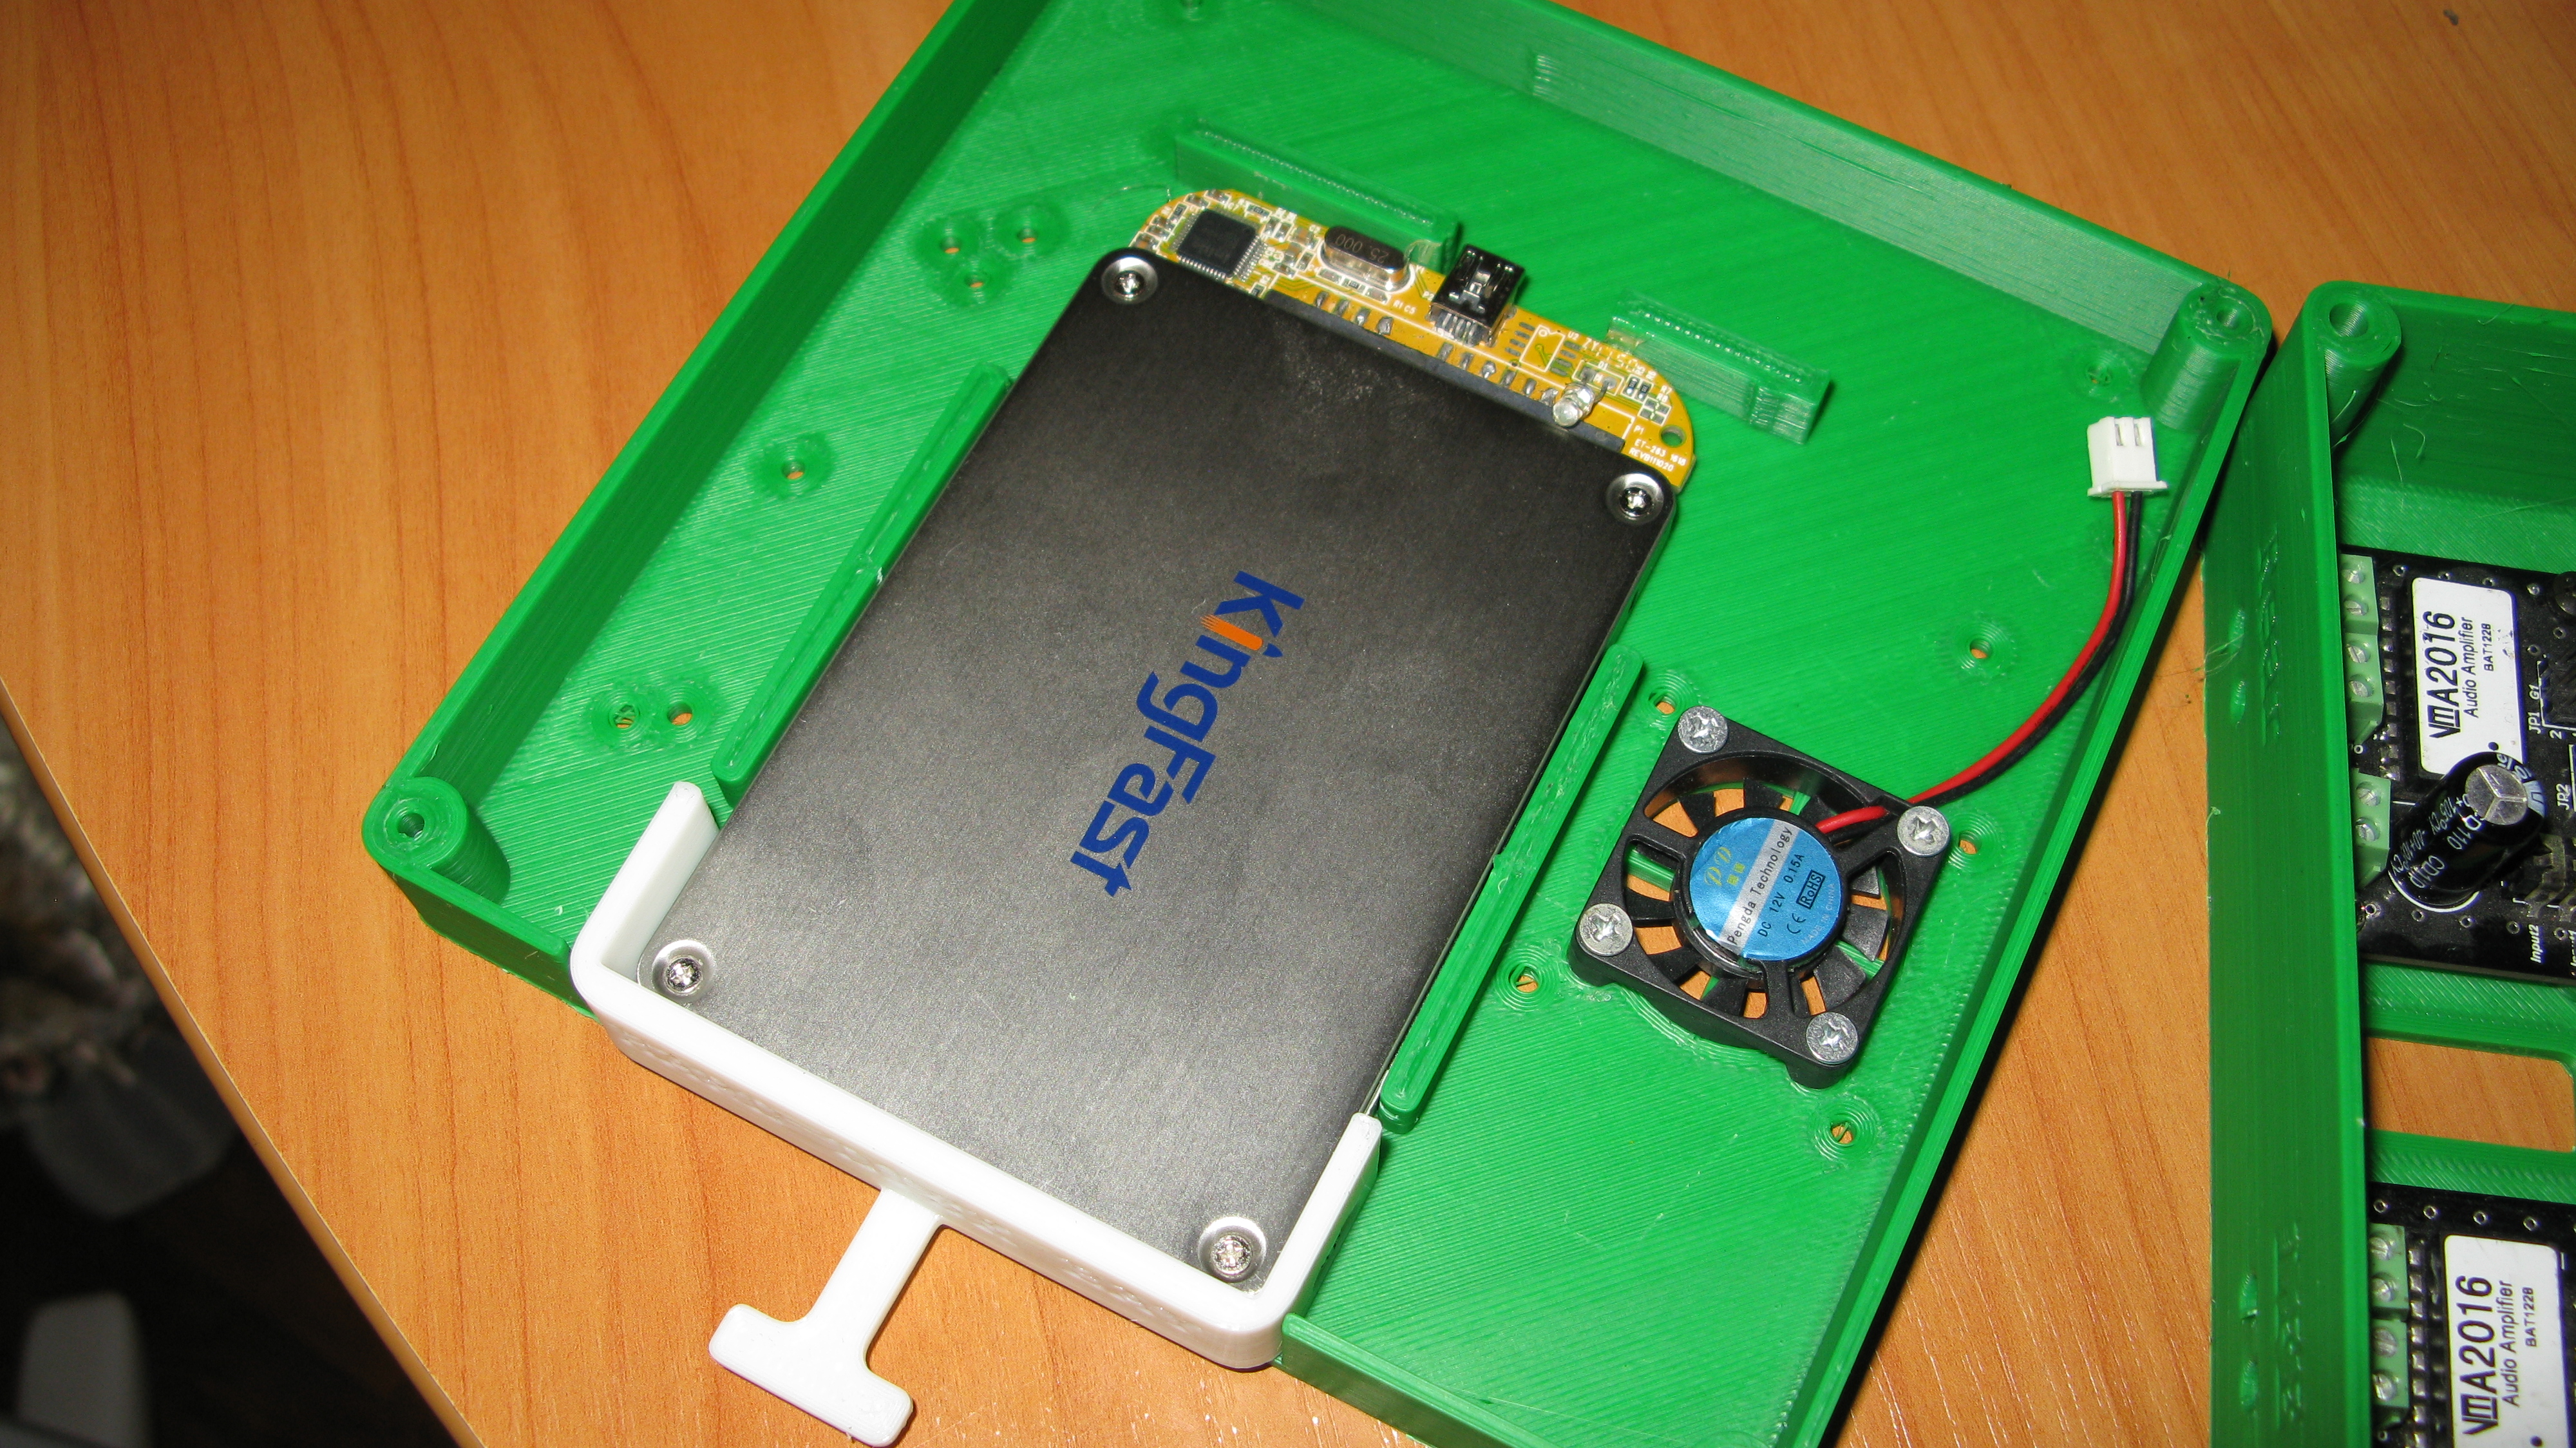
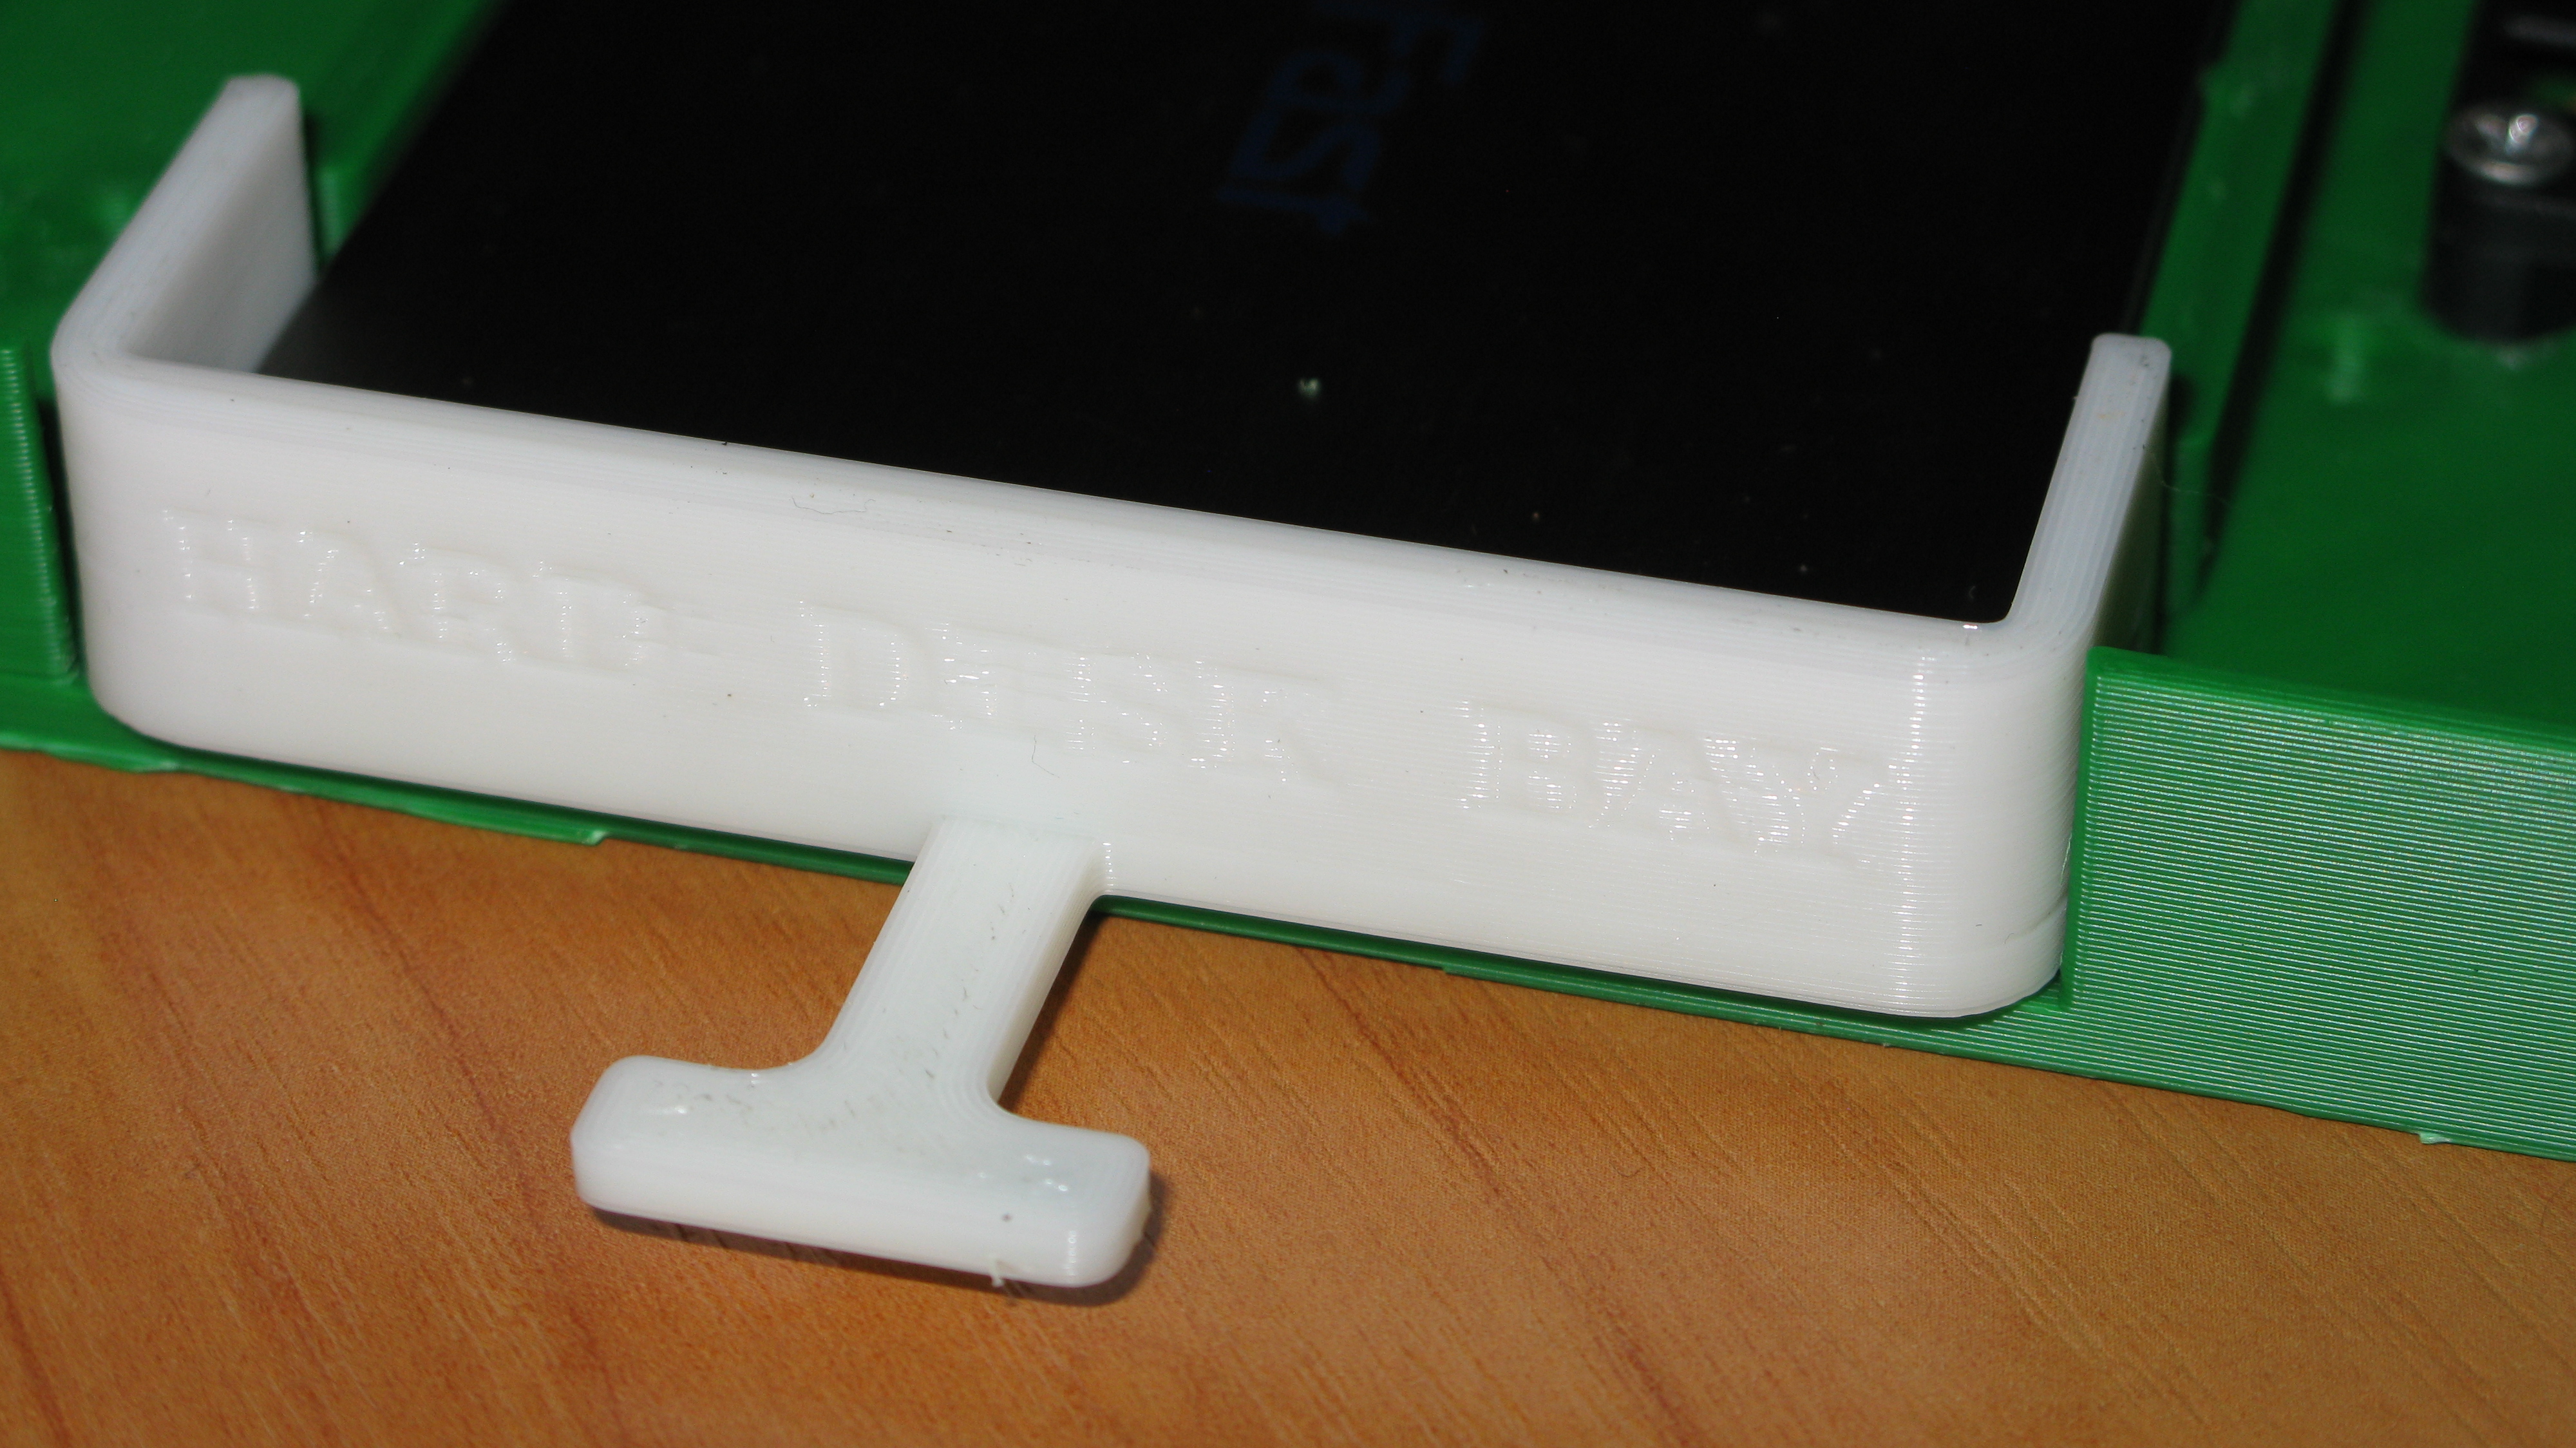
It contains a 30mm fan (I wish I did go for a 120mm from the very beginning, that stuff is really noisy!), a USB-to-SATA bridge for the HDD hot-glued to sit in place. Wall-mounting holes included. I’ve printed a special bracket for the HDD so that it would be easier to plug it in and out without any disassembly.

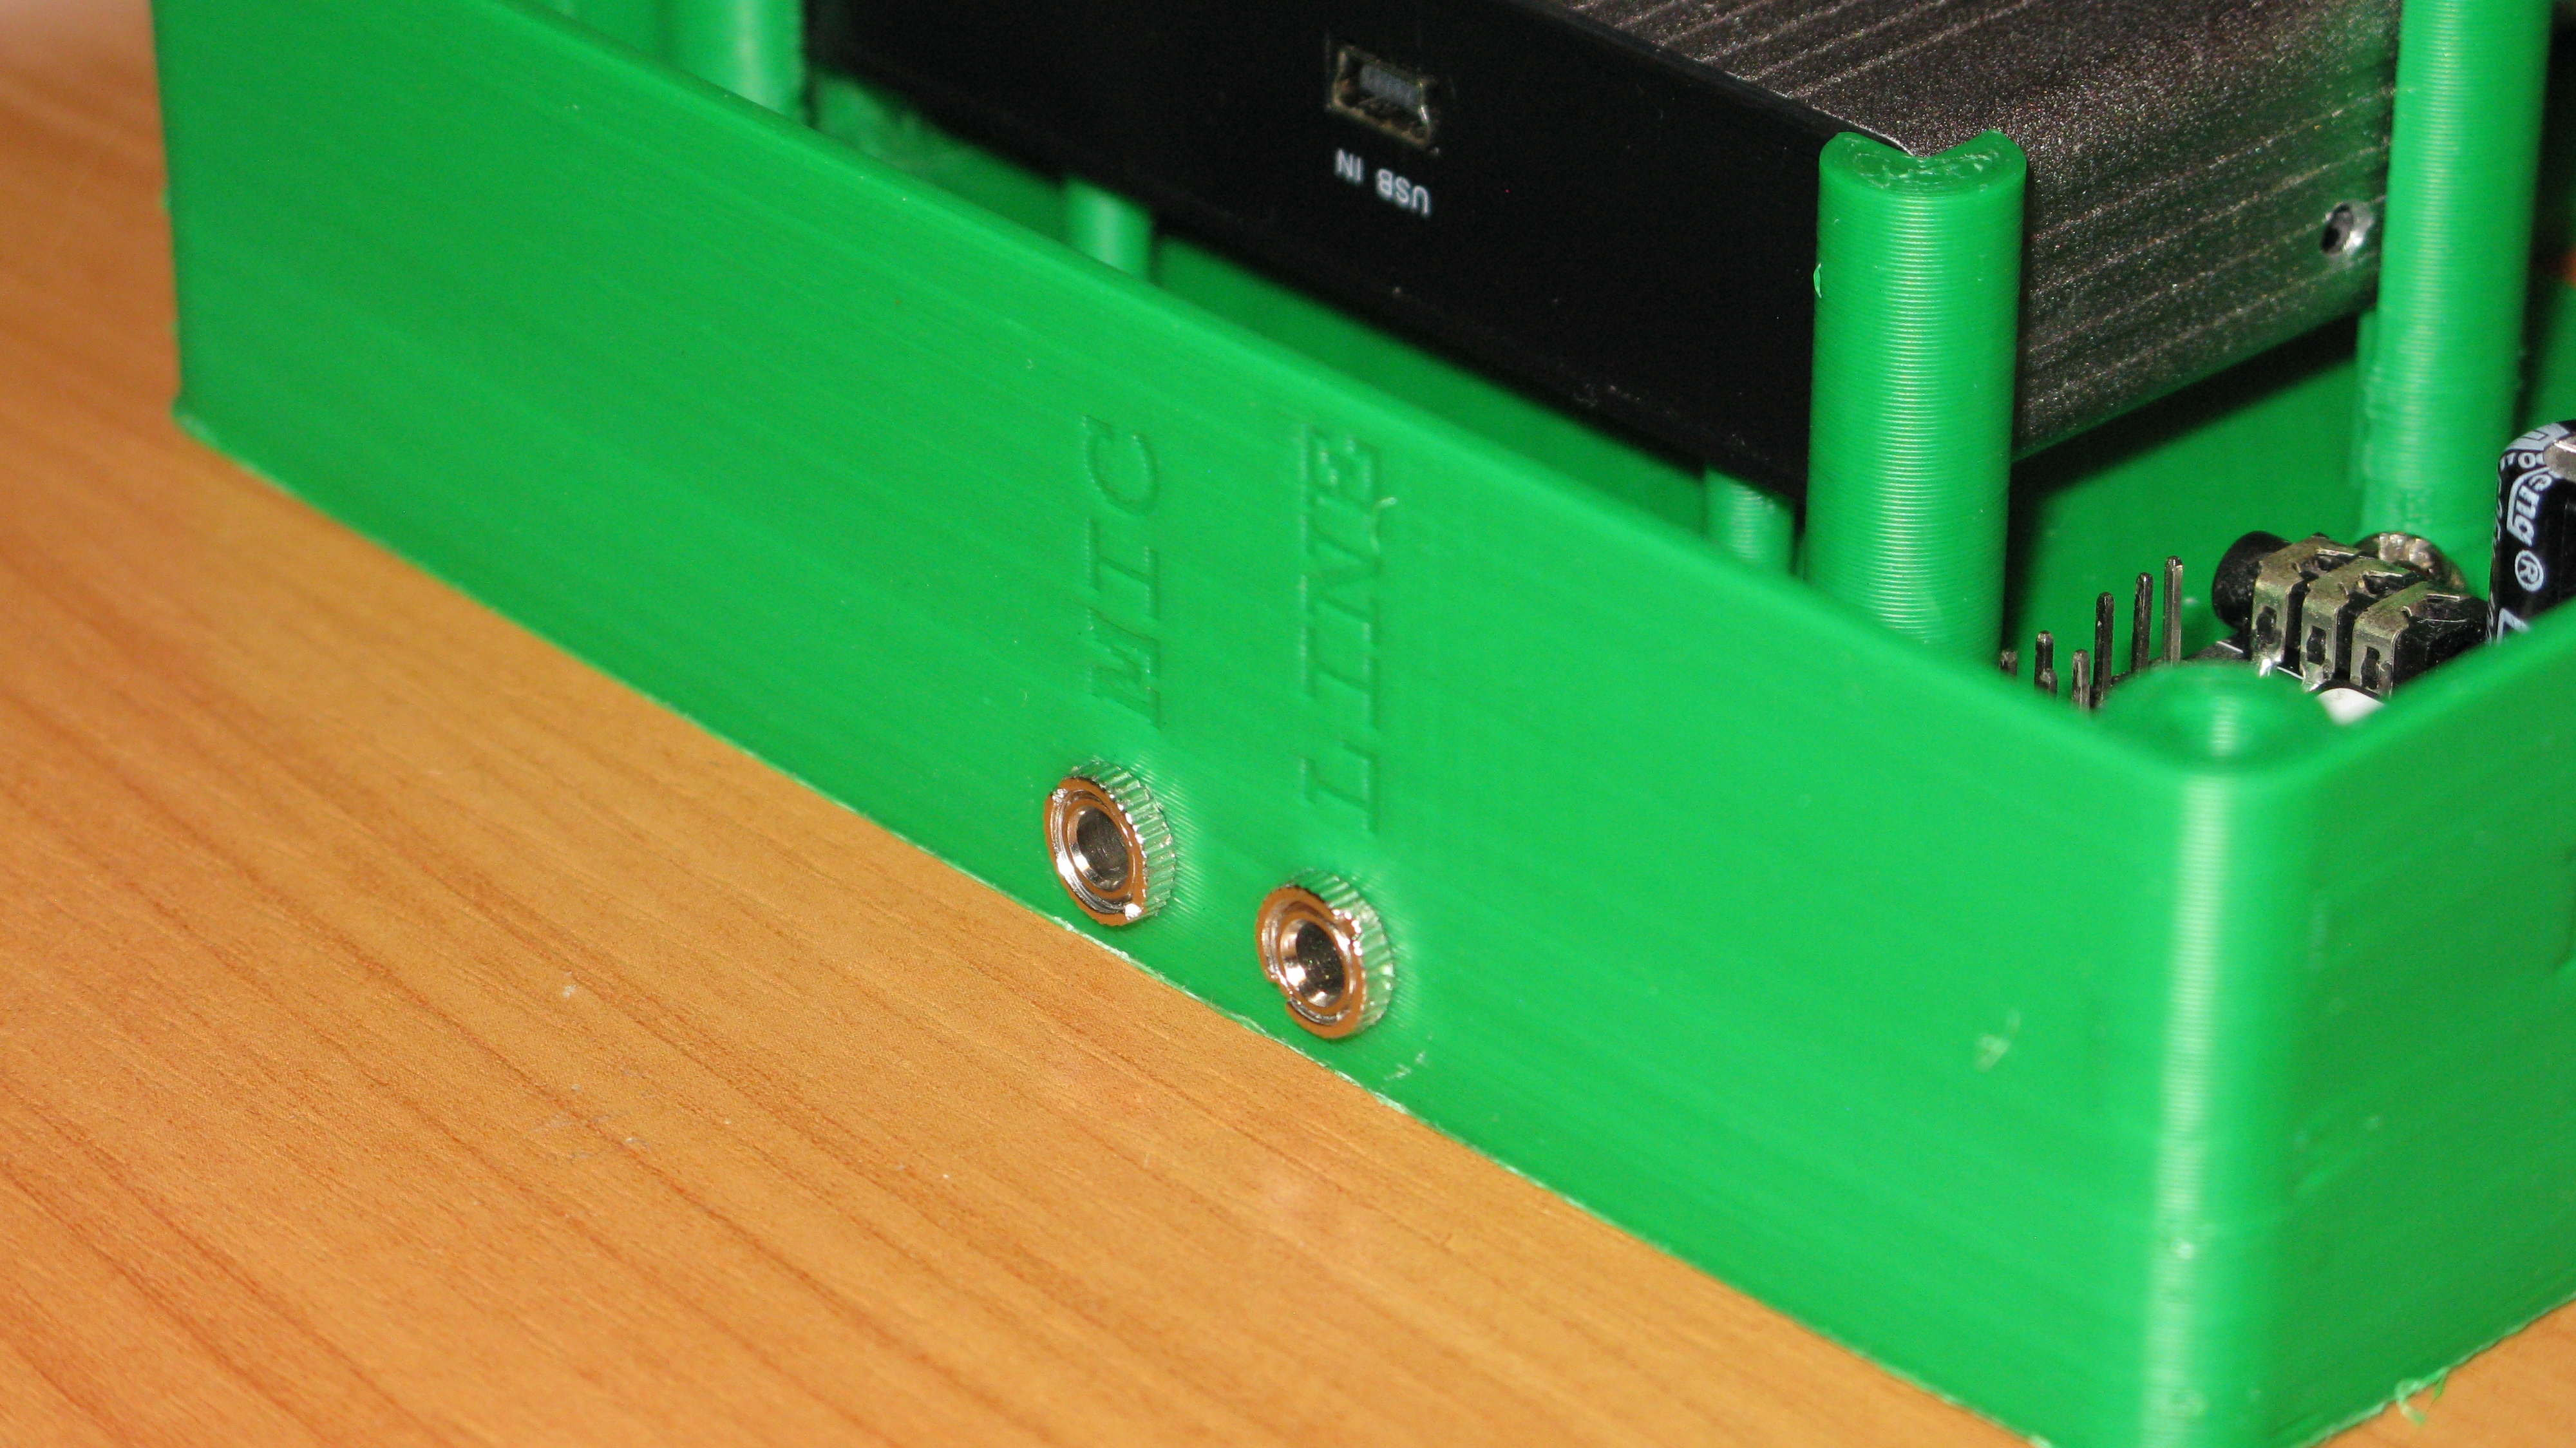
 The second floor houses the usb hub that contains a 12->5V DC-DC and the android TV stick. The nifty trick about those TV sticks is that due to simple schematics you can usually inject power via the USB host. And that’s precisely what my baseboard does. There are also holes in it for the uSD connector and the micro-usb port. The always-on port of the usb hub is also on the side of the box.
This is how it looks on the render: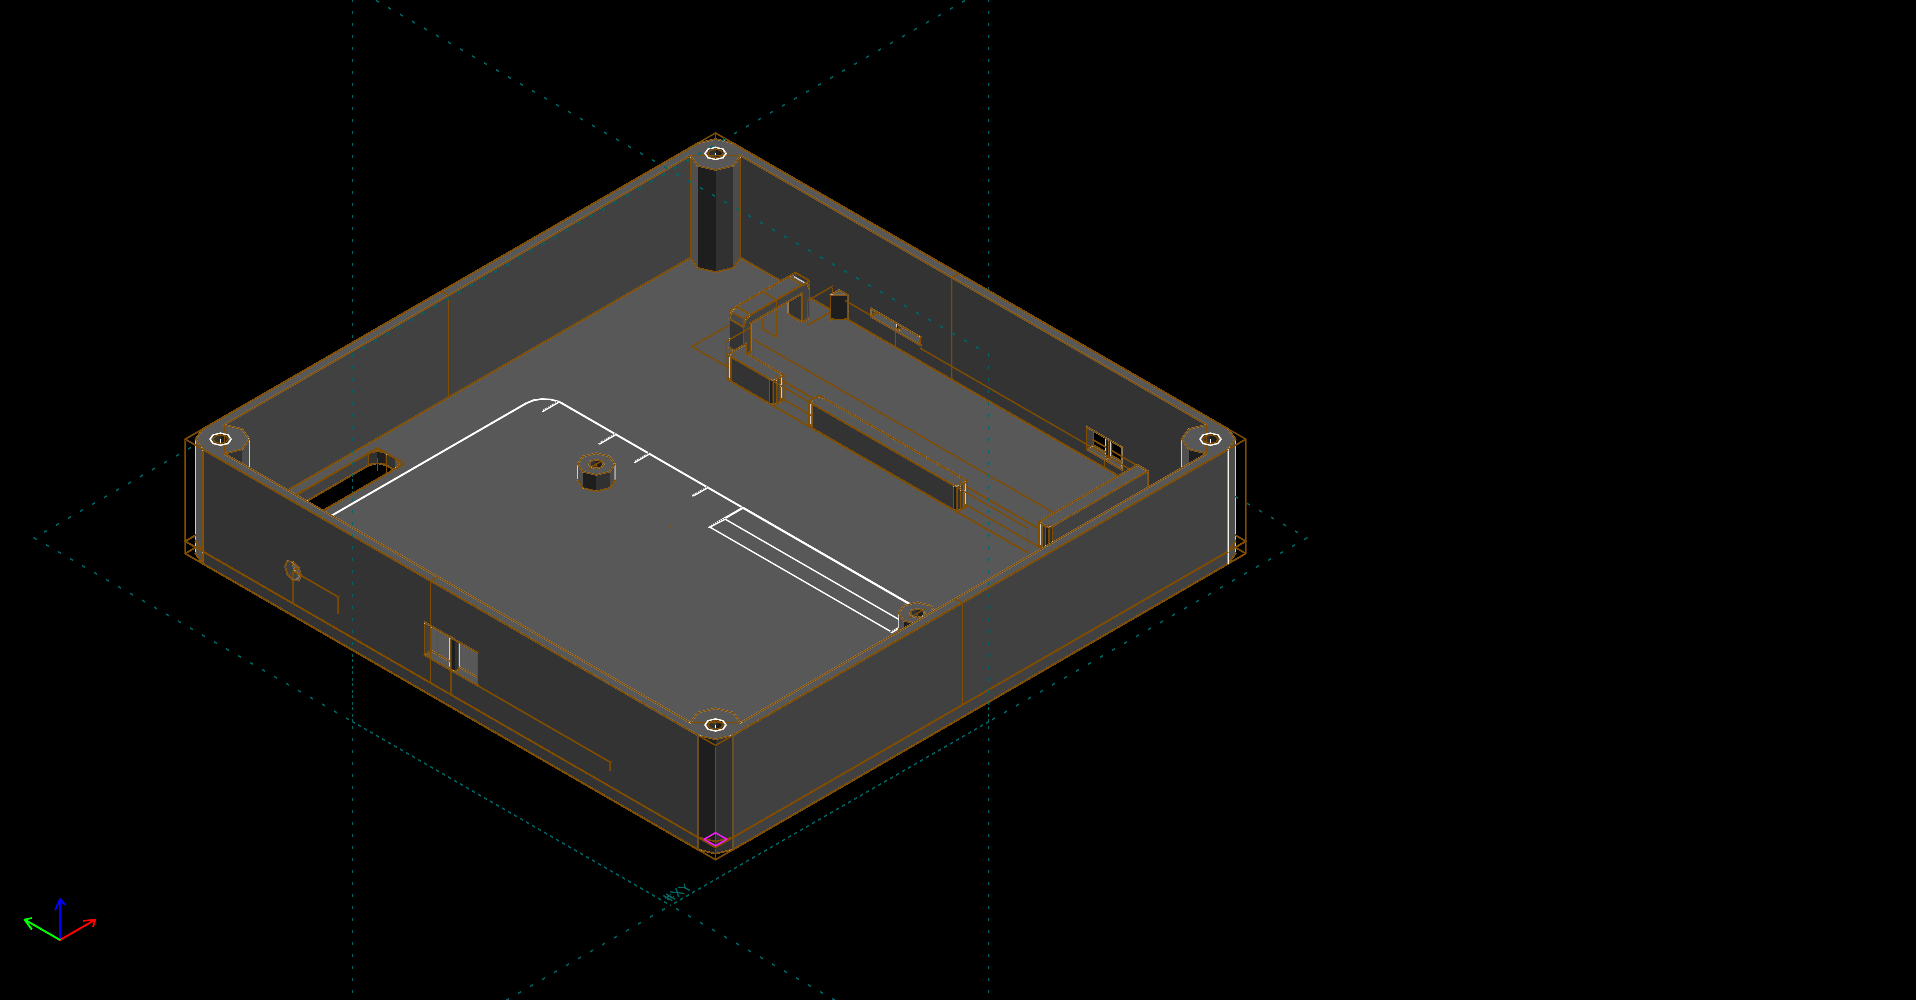 And like this in real life:
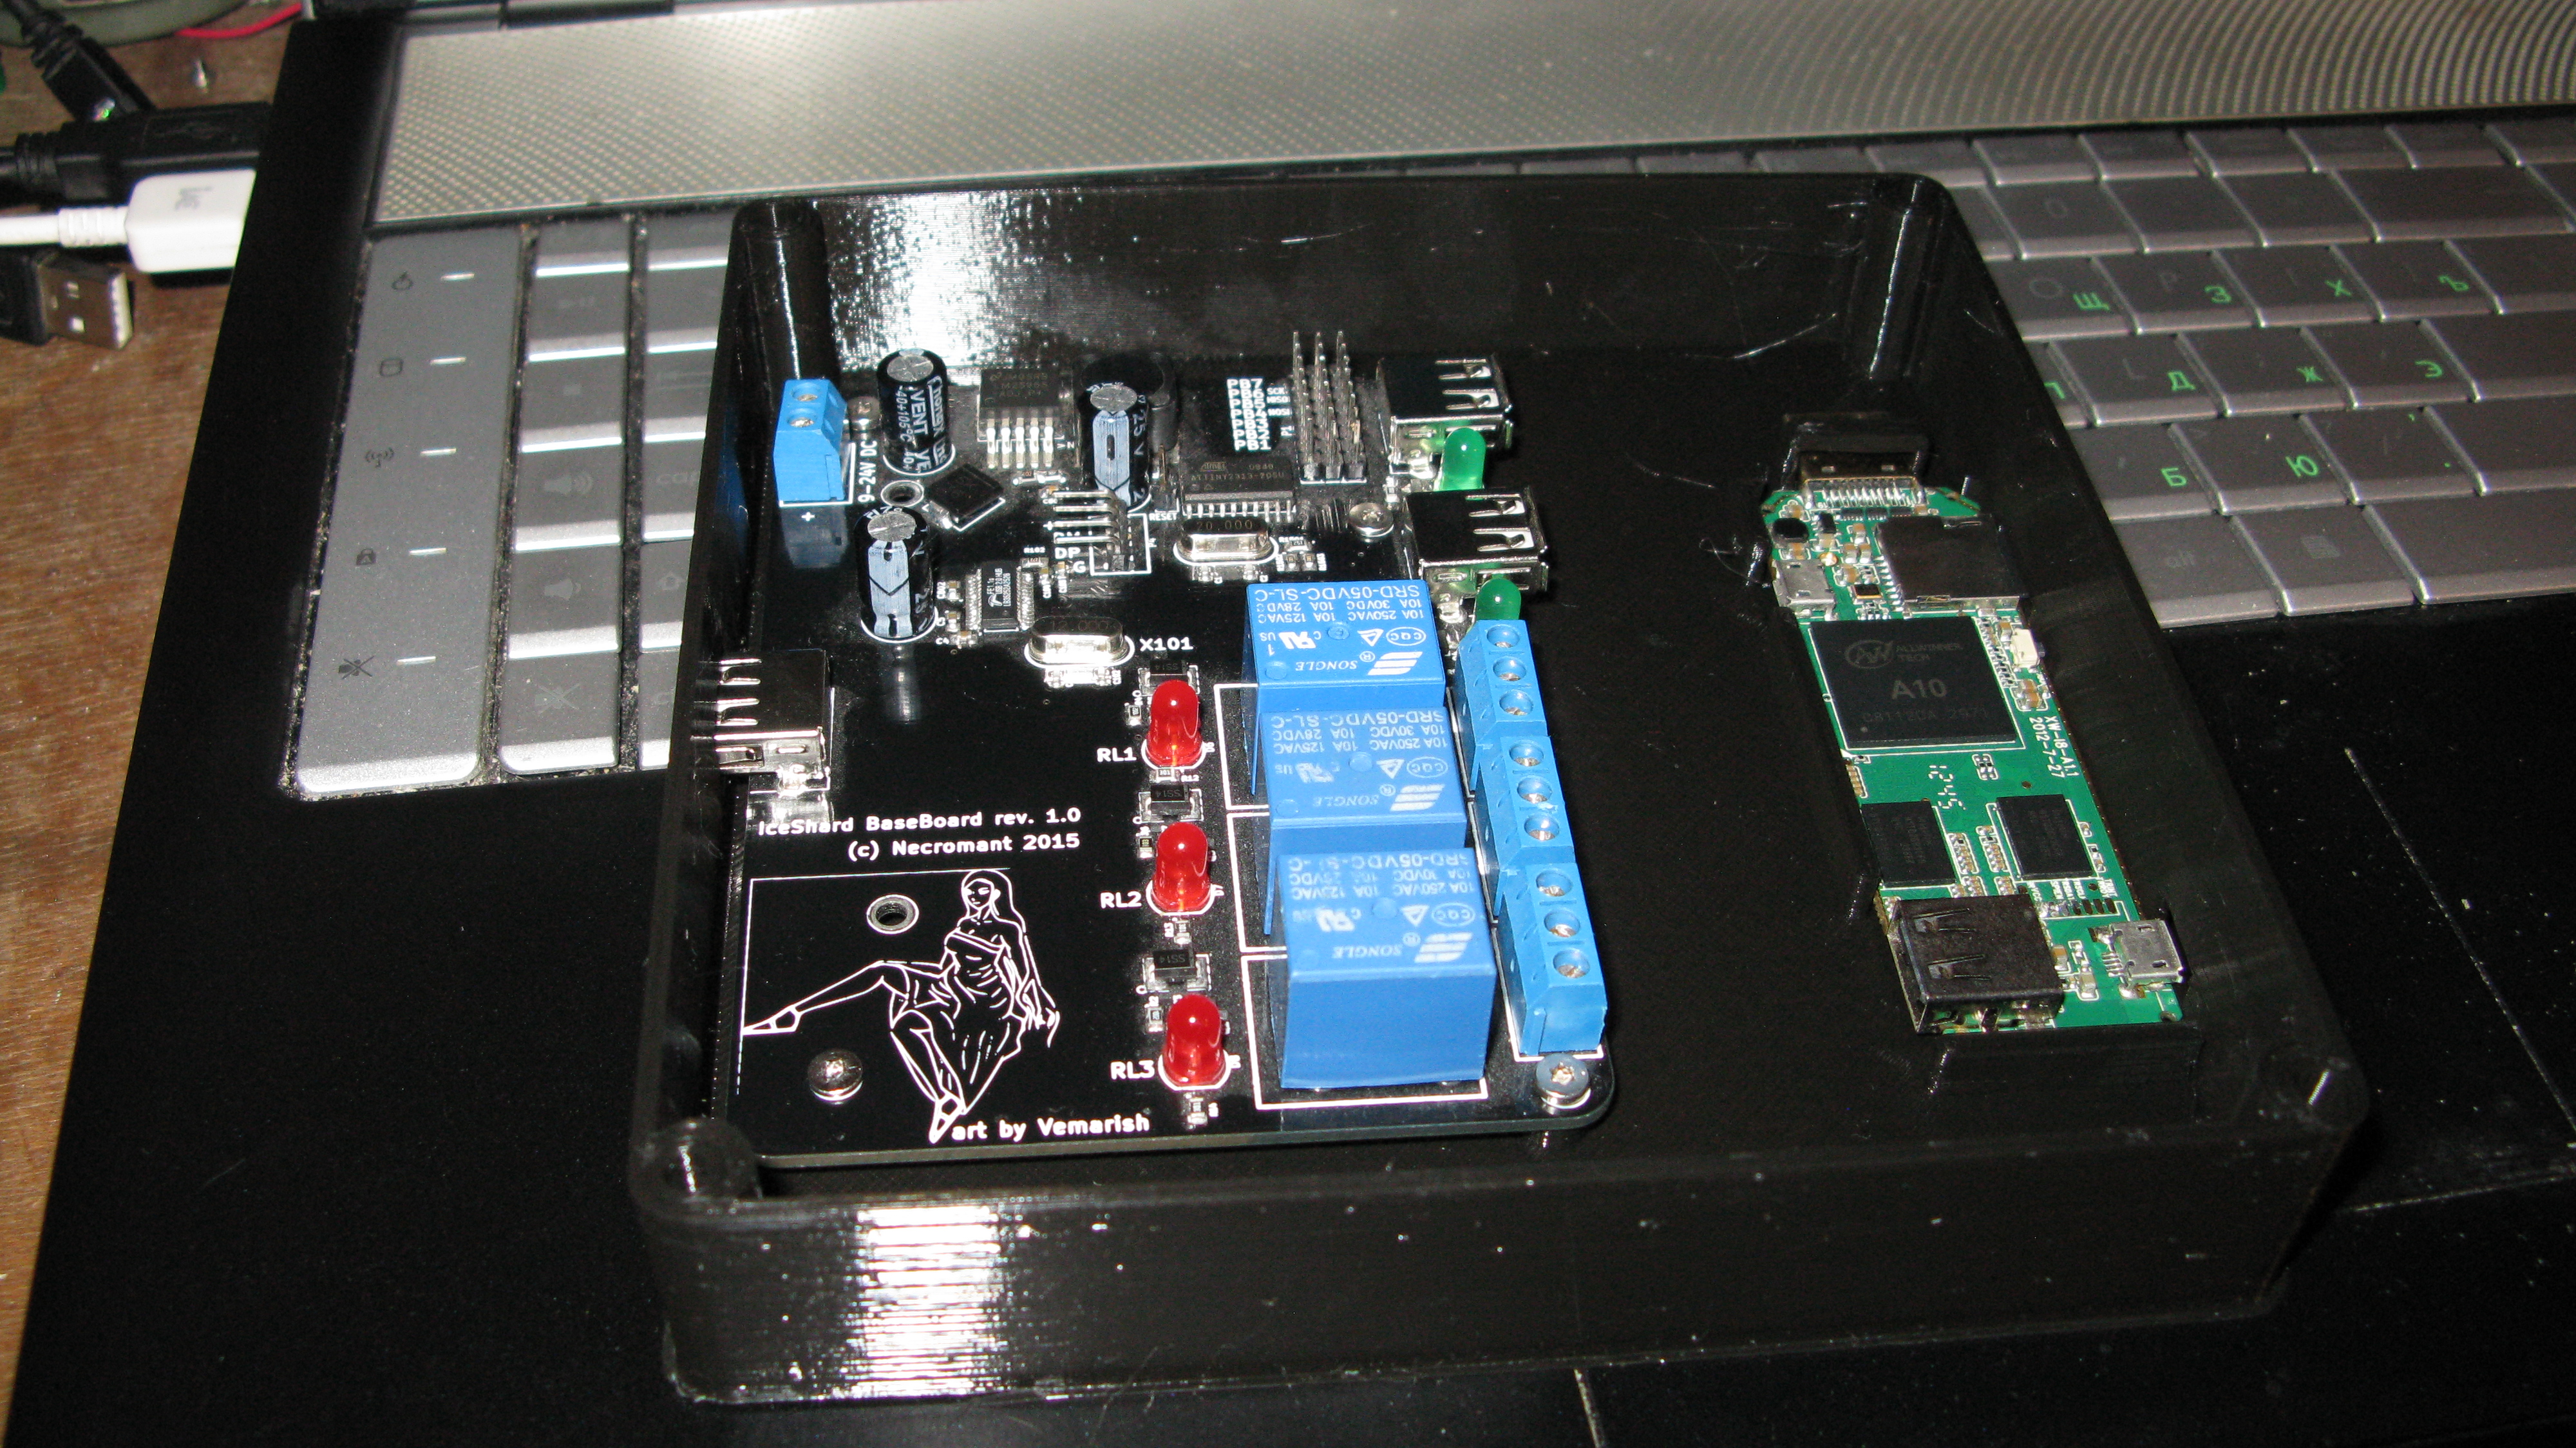
 Finally, the topmost floor contains the sound card and the VMA2016 amplifier modules. The line-in and mic-in are wired on the side of the box, so that I can connect a mic and, say, a guitar (just in case my neighbors get drunk and go karaoke and I’d want to take my revenge on them)

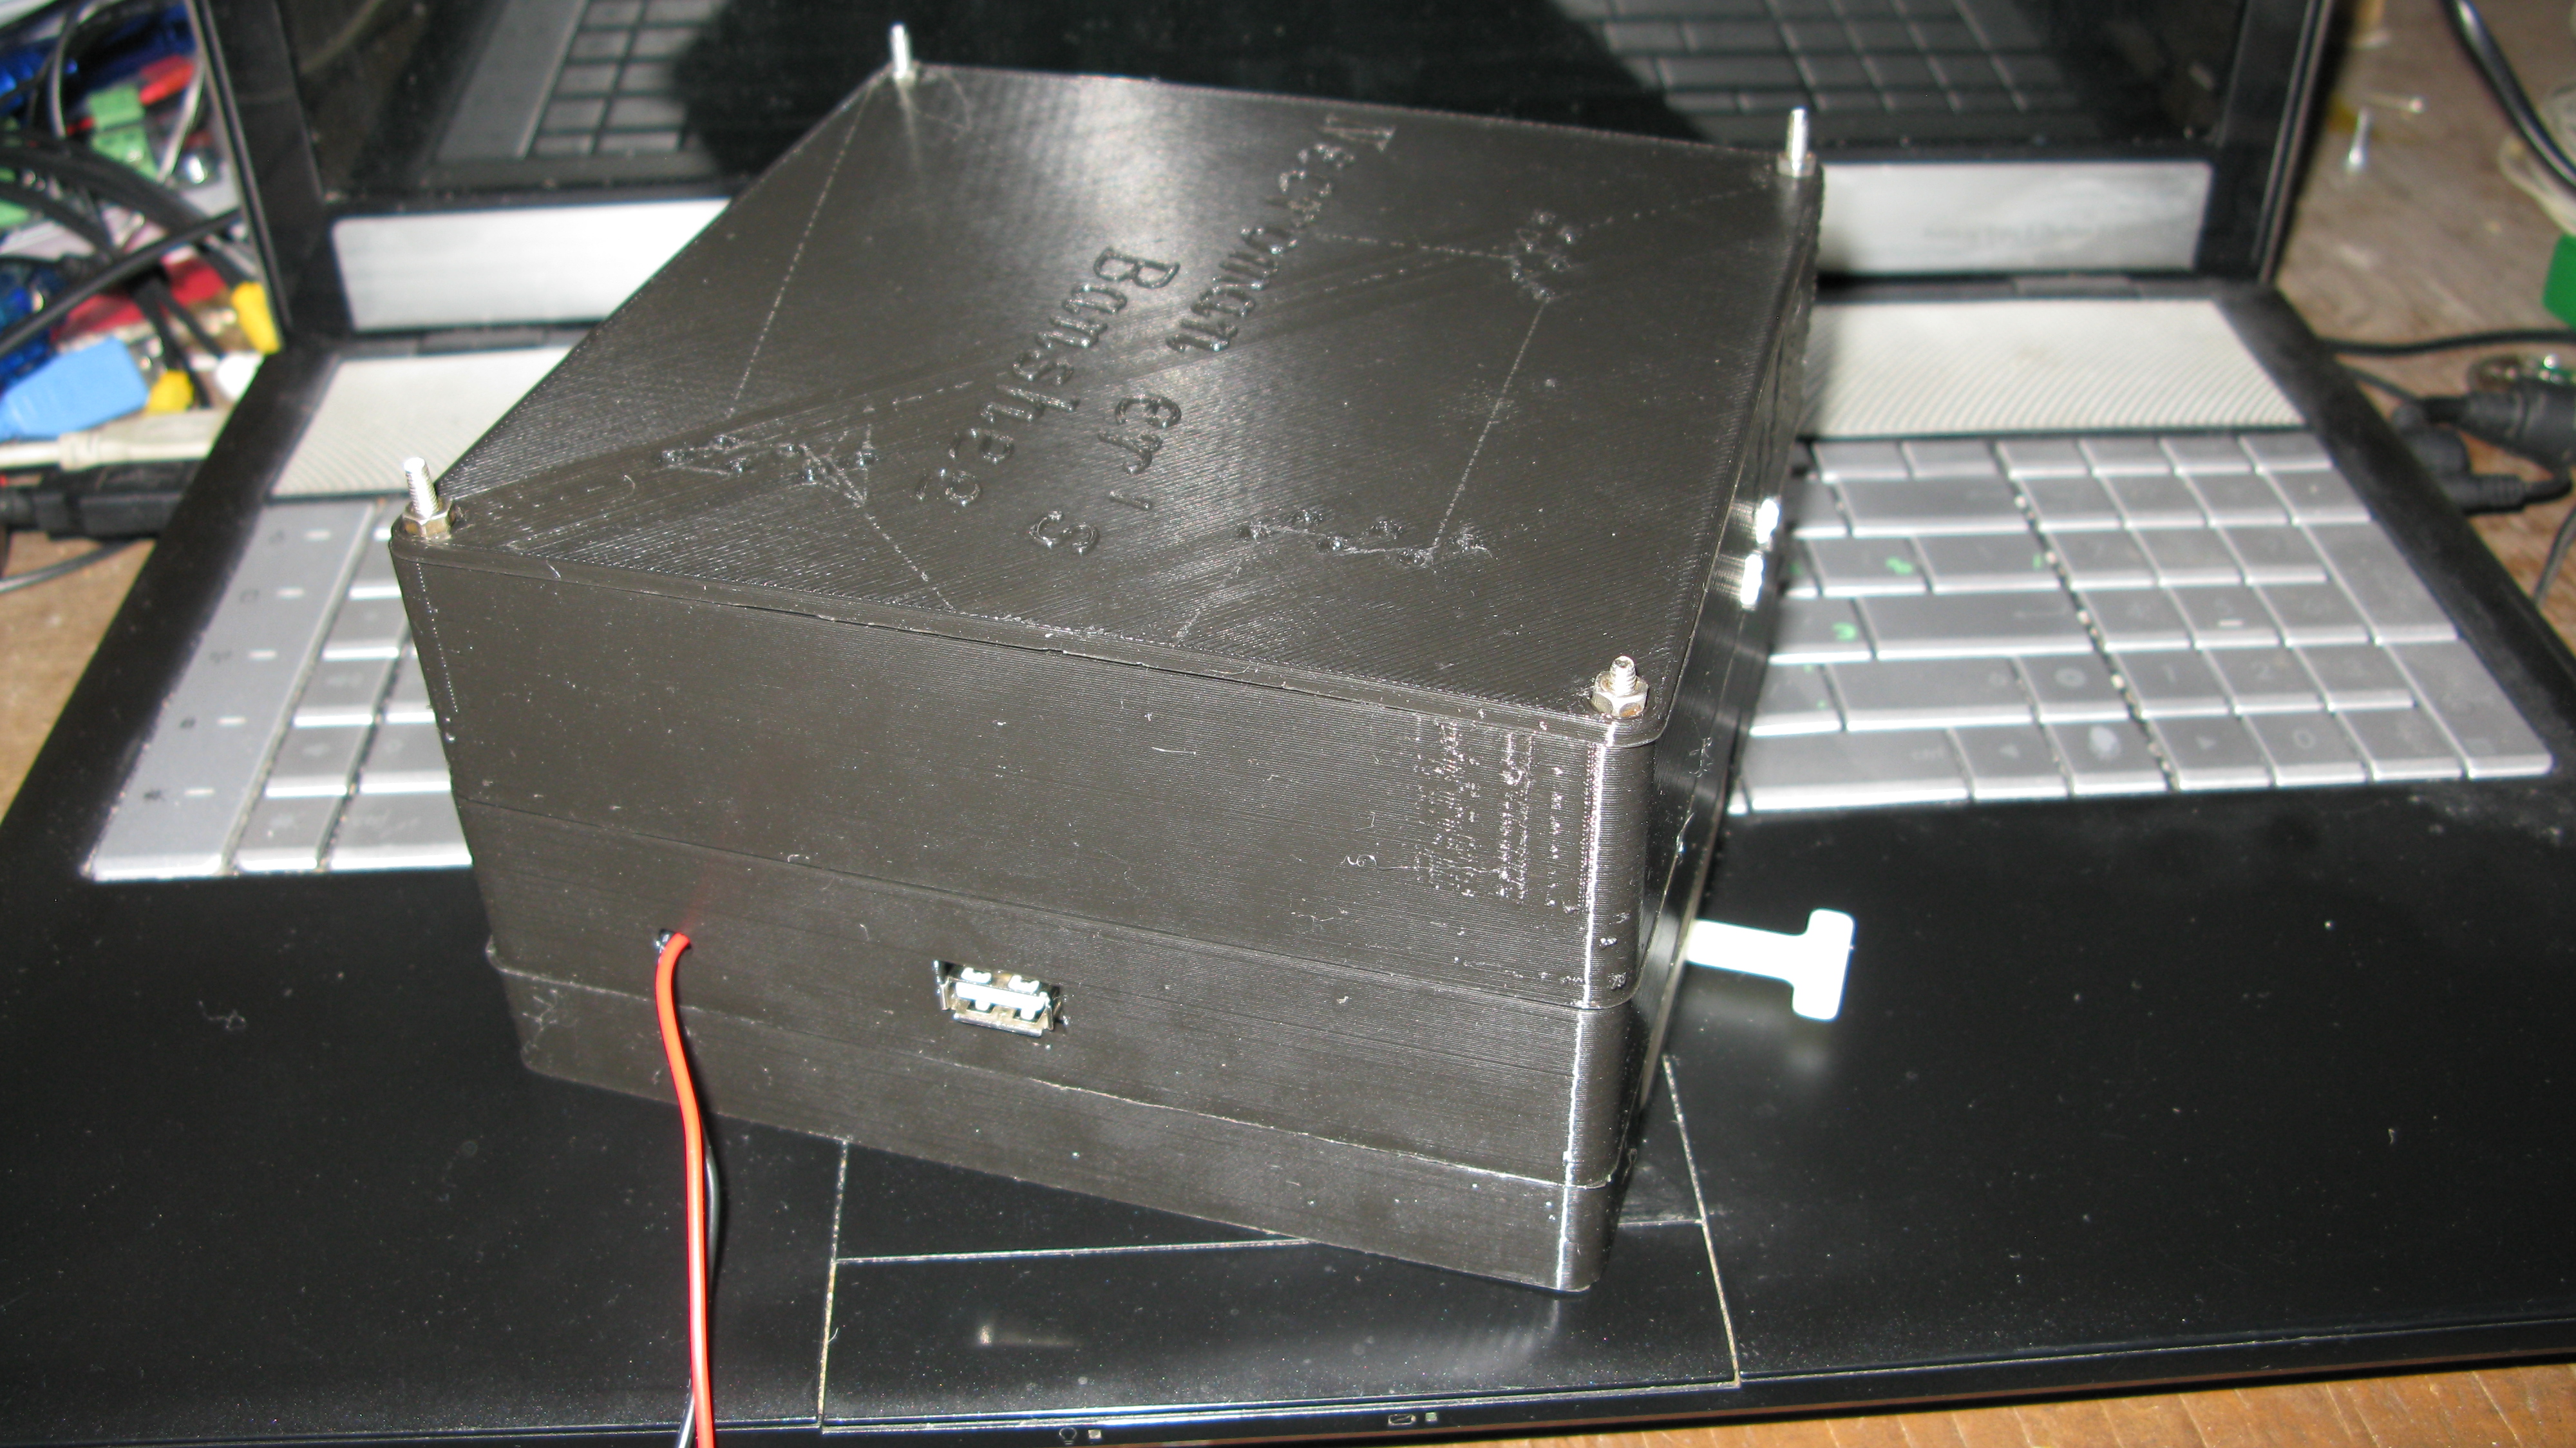
 Finally, that’s how it looks when I’ve assembled everything. I was to lazy paint the green plastic into something else, so I’ve printed everything in black.

On the bottom of the box there’s a special bracket to hold the dust filter. I tried a piece of common cloth for a start, but alas it with it the fan didn’t generate enough air flow to cool down the hard disk under a heavy load. Eventually I moved on to a 120mm fan at the very top.
I used widely available steel angle brackets for to mount the box to the wall that are attached using M3 screws.
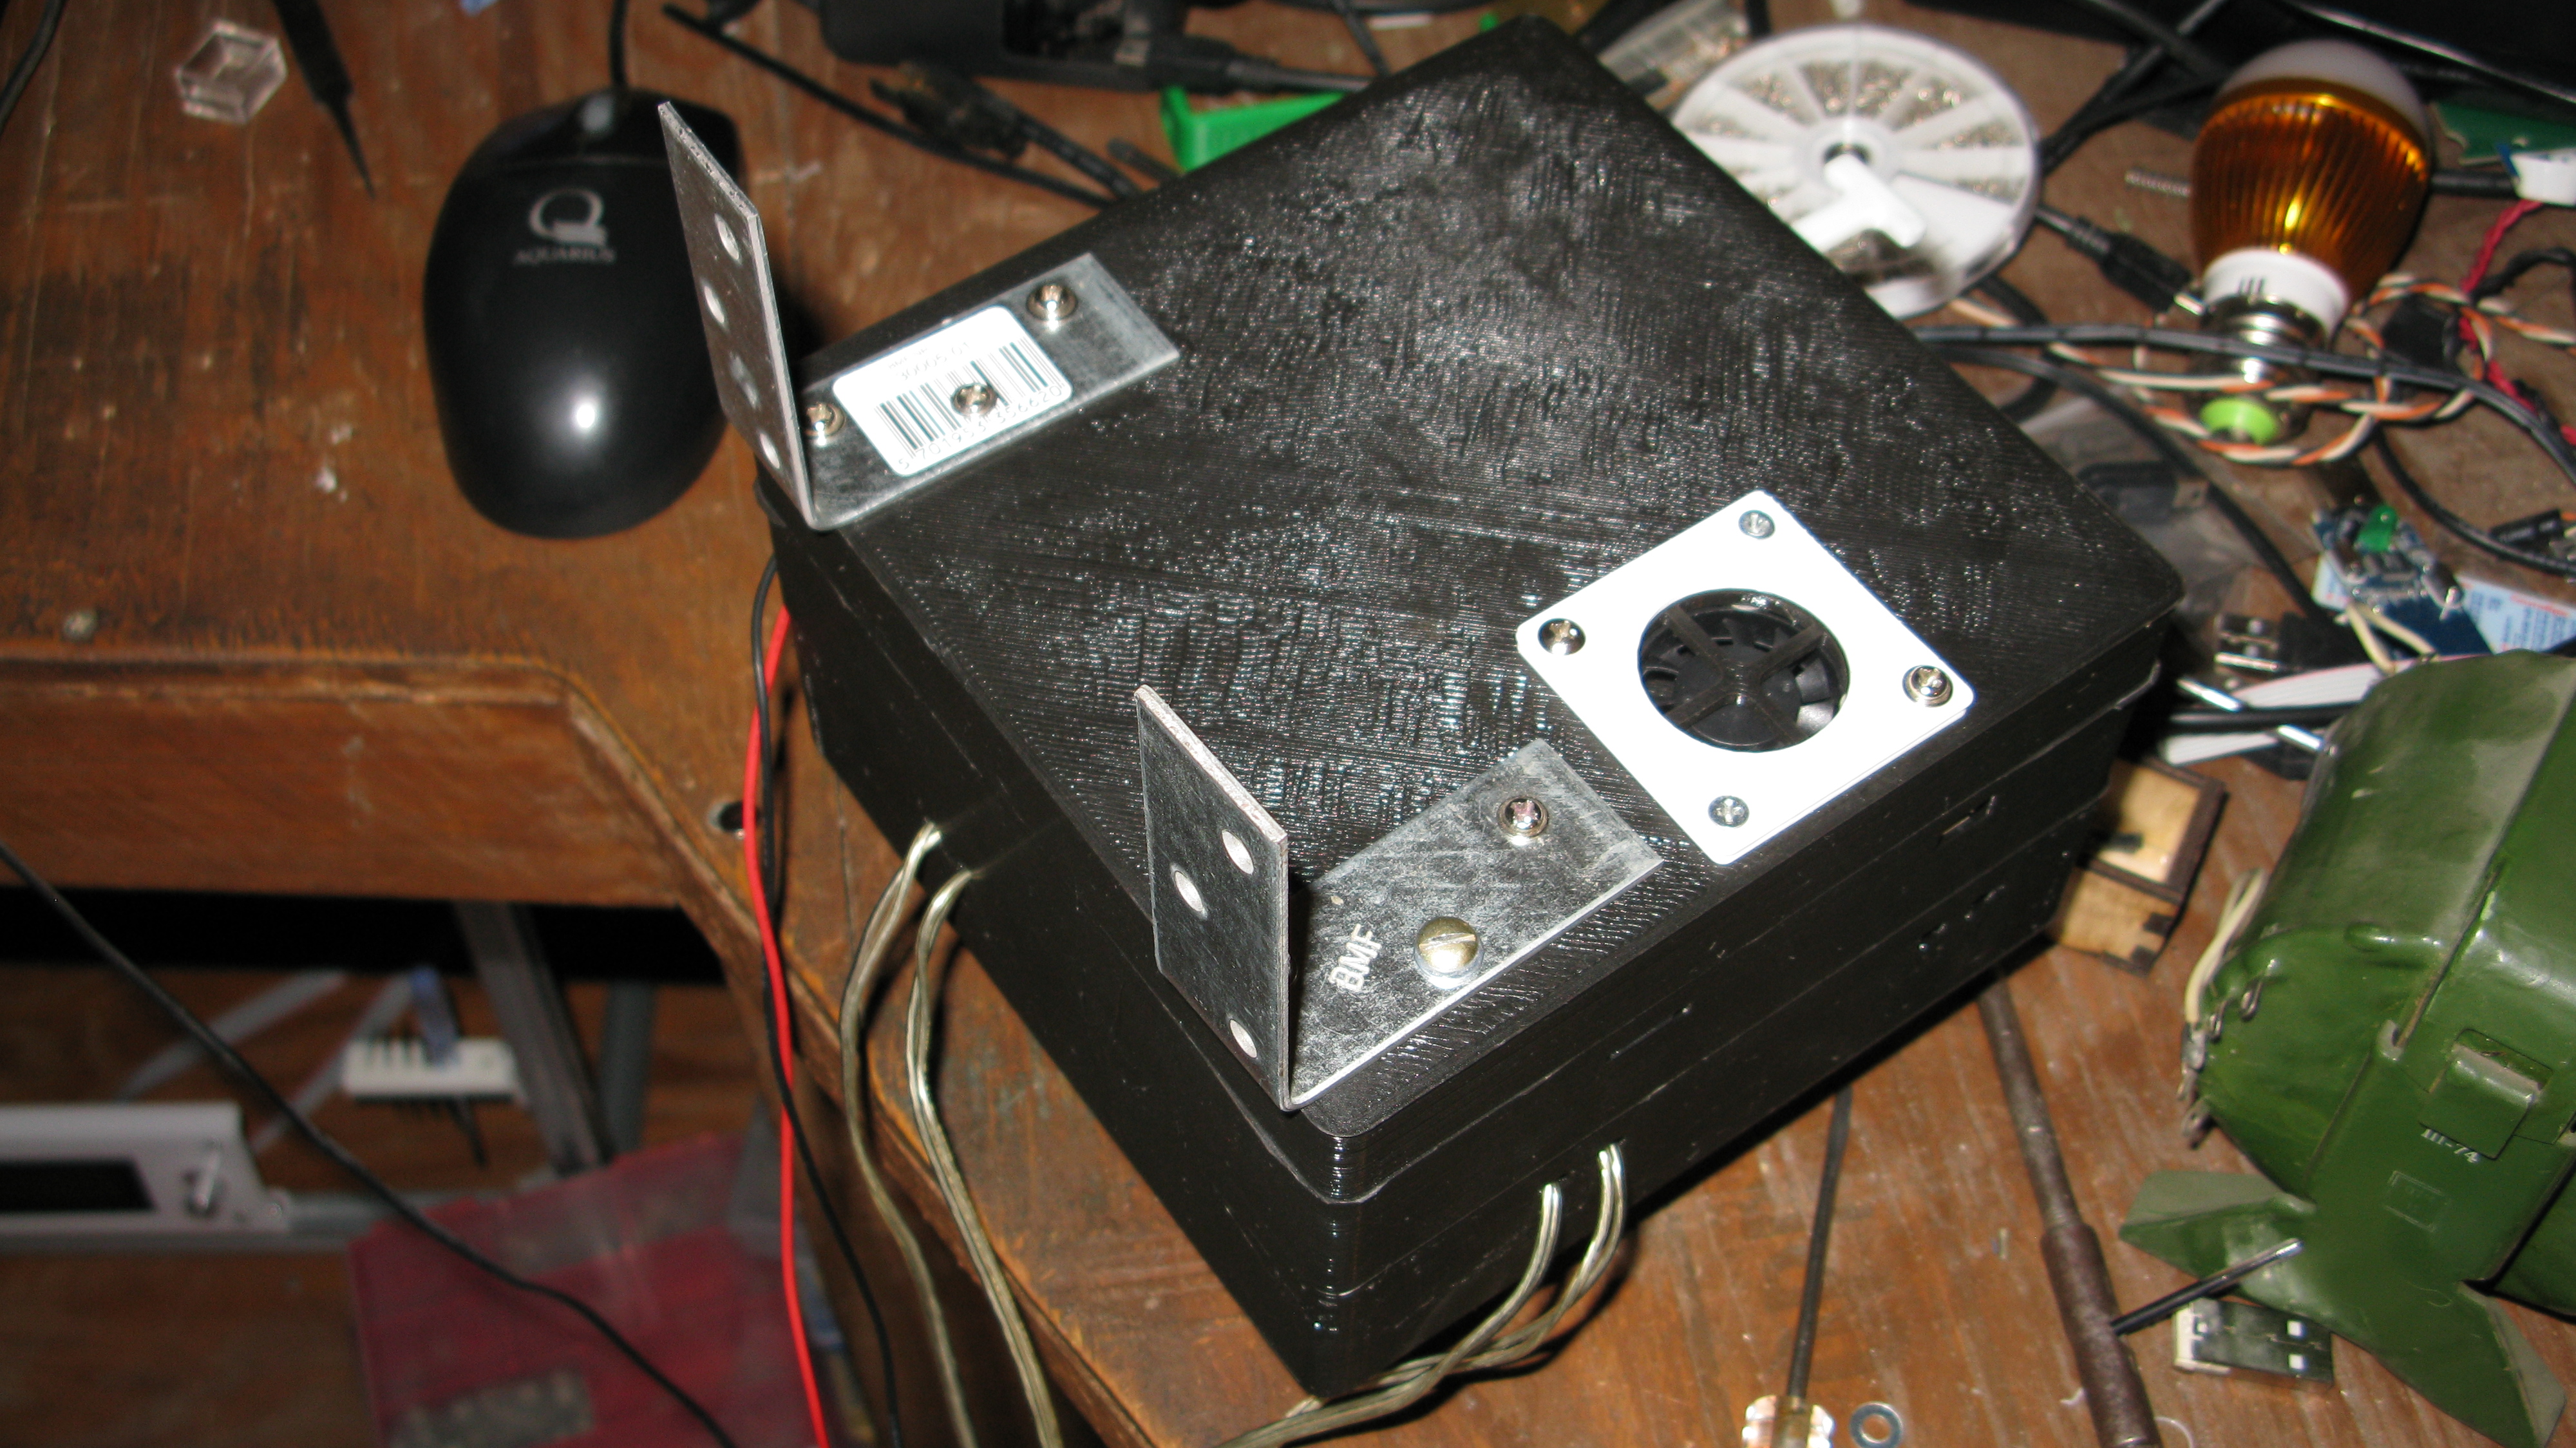
And that’s how it looks when attached to the wall.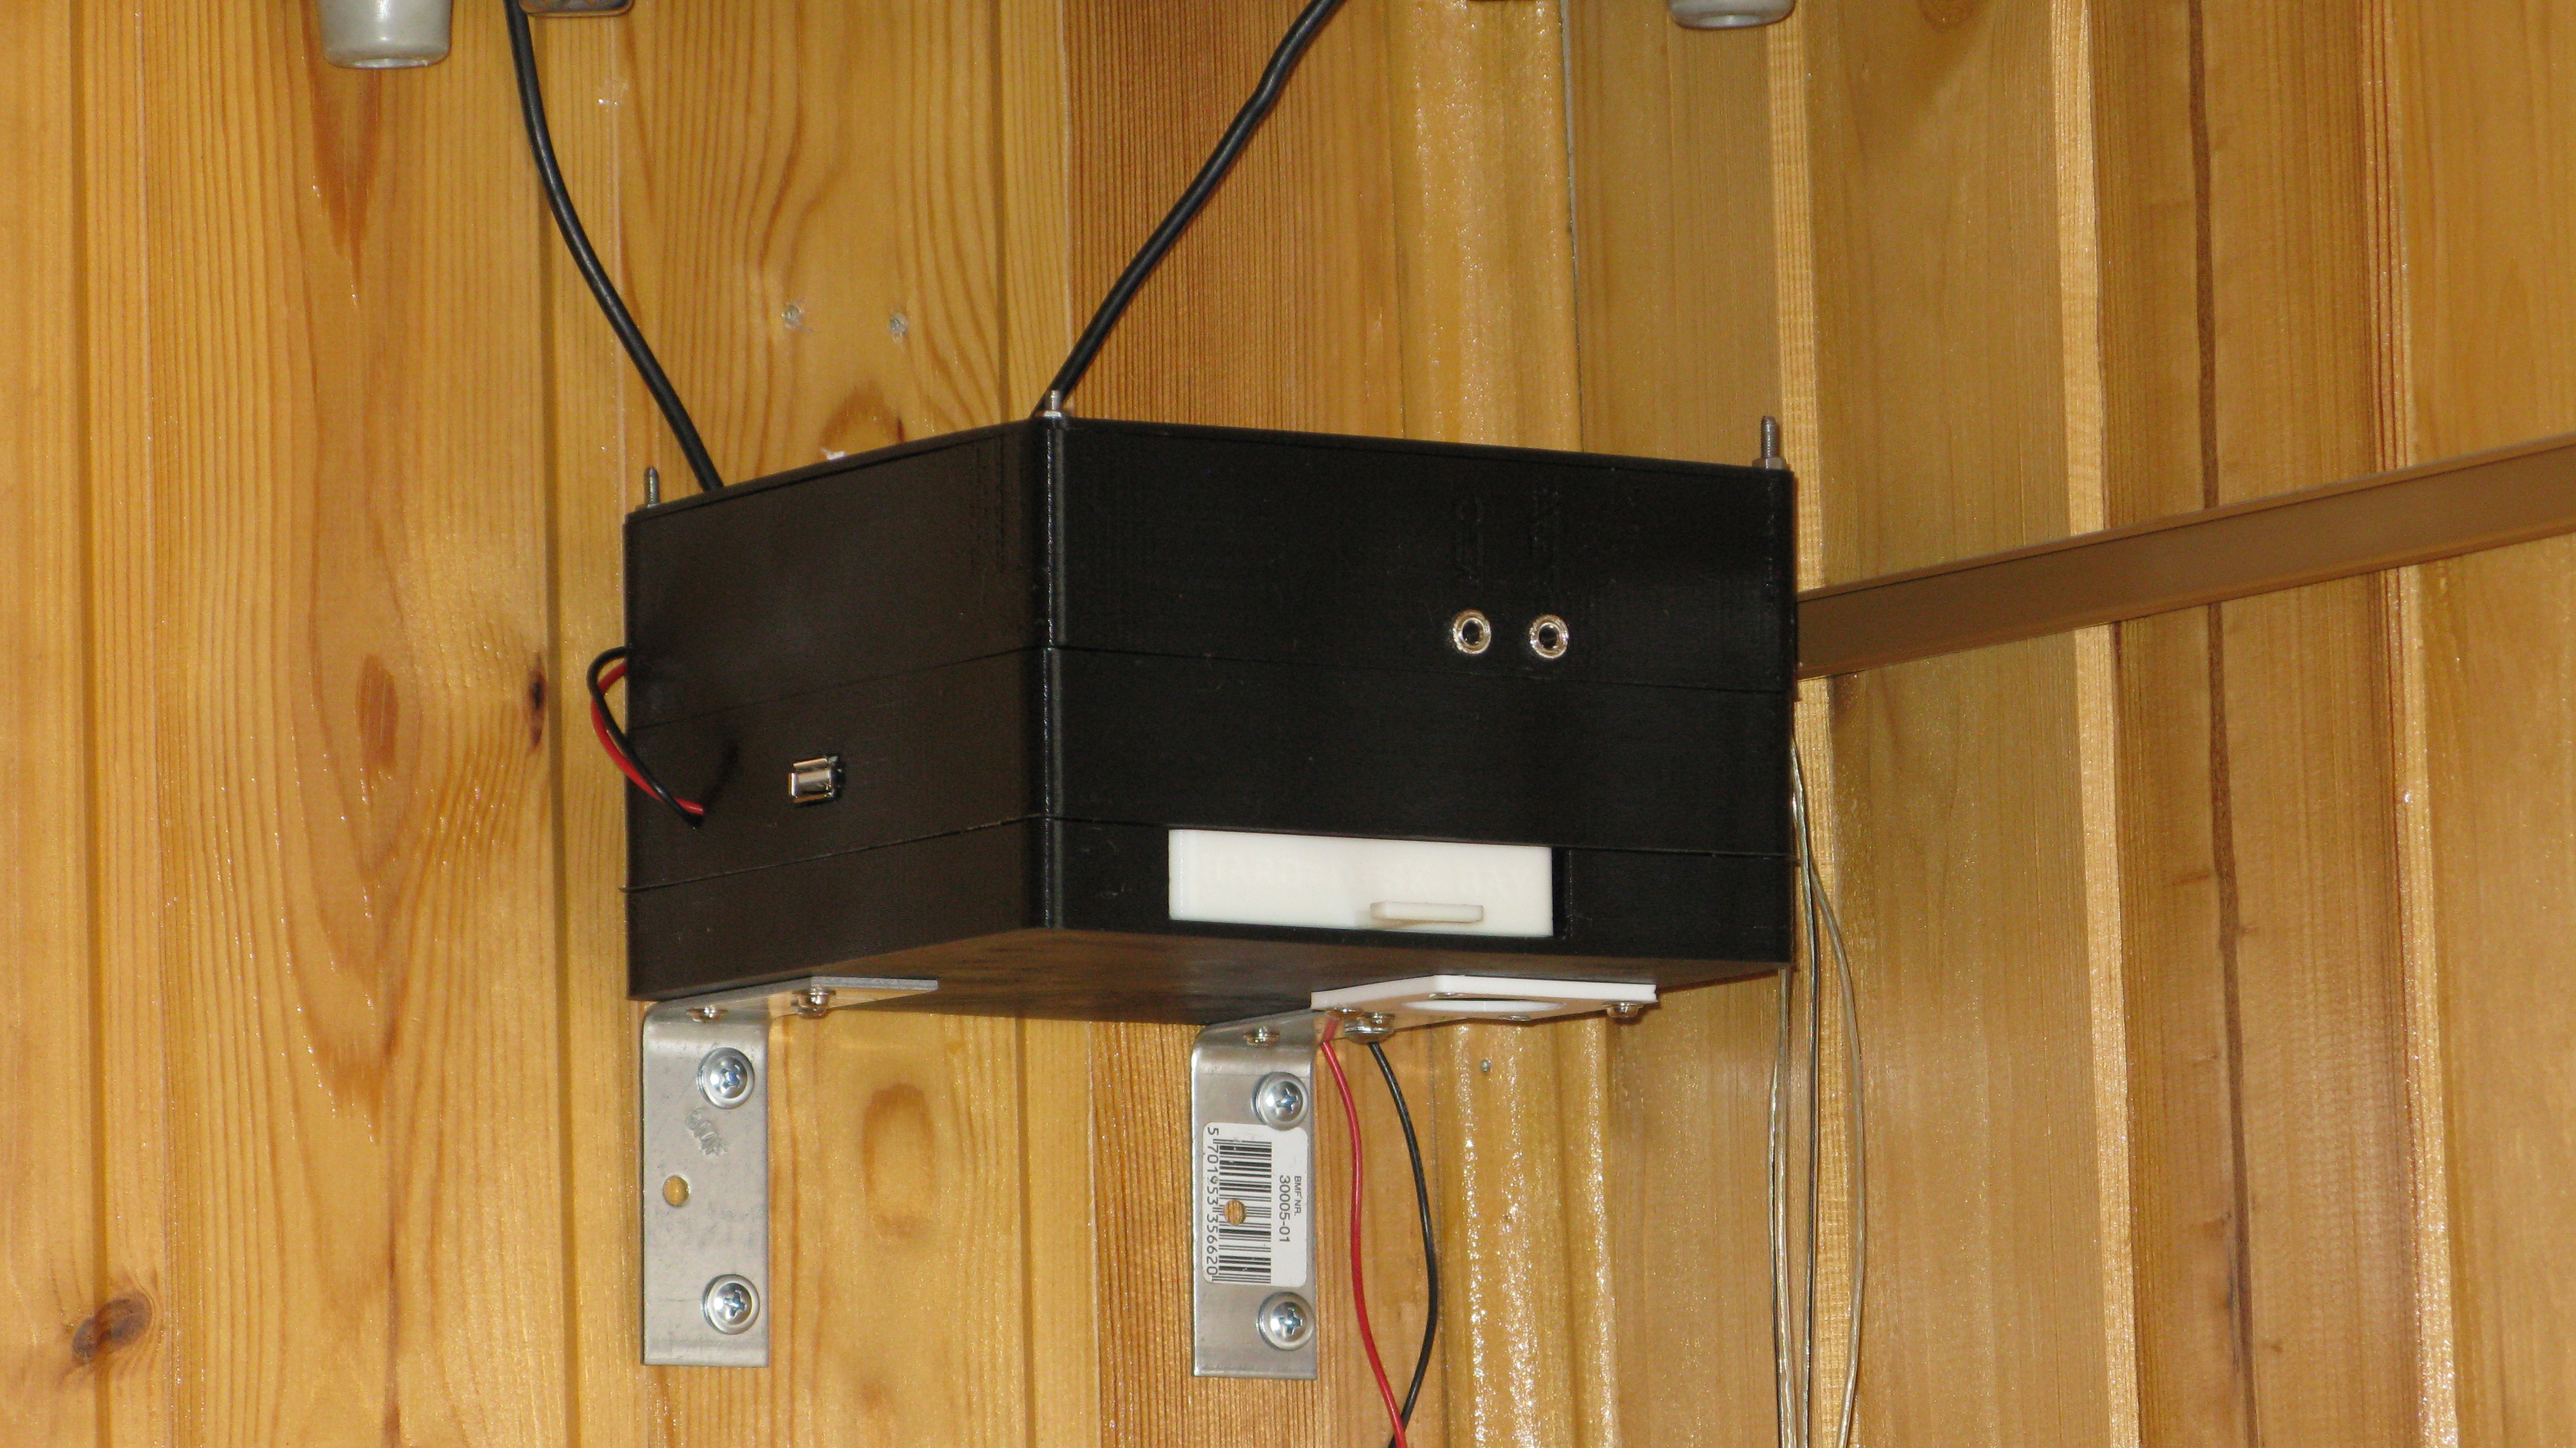
The software
Here’s the list of software that I’m currently using:
- skyforge – gets you a customized debian rootfs in no time
- groovebasin – A music player with web-interface, compatible with mpd clients, can be obtained from debian packages
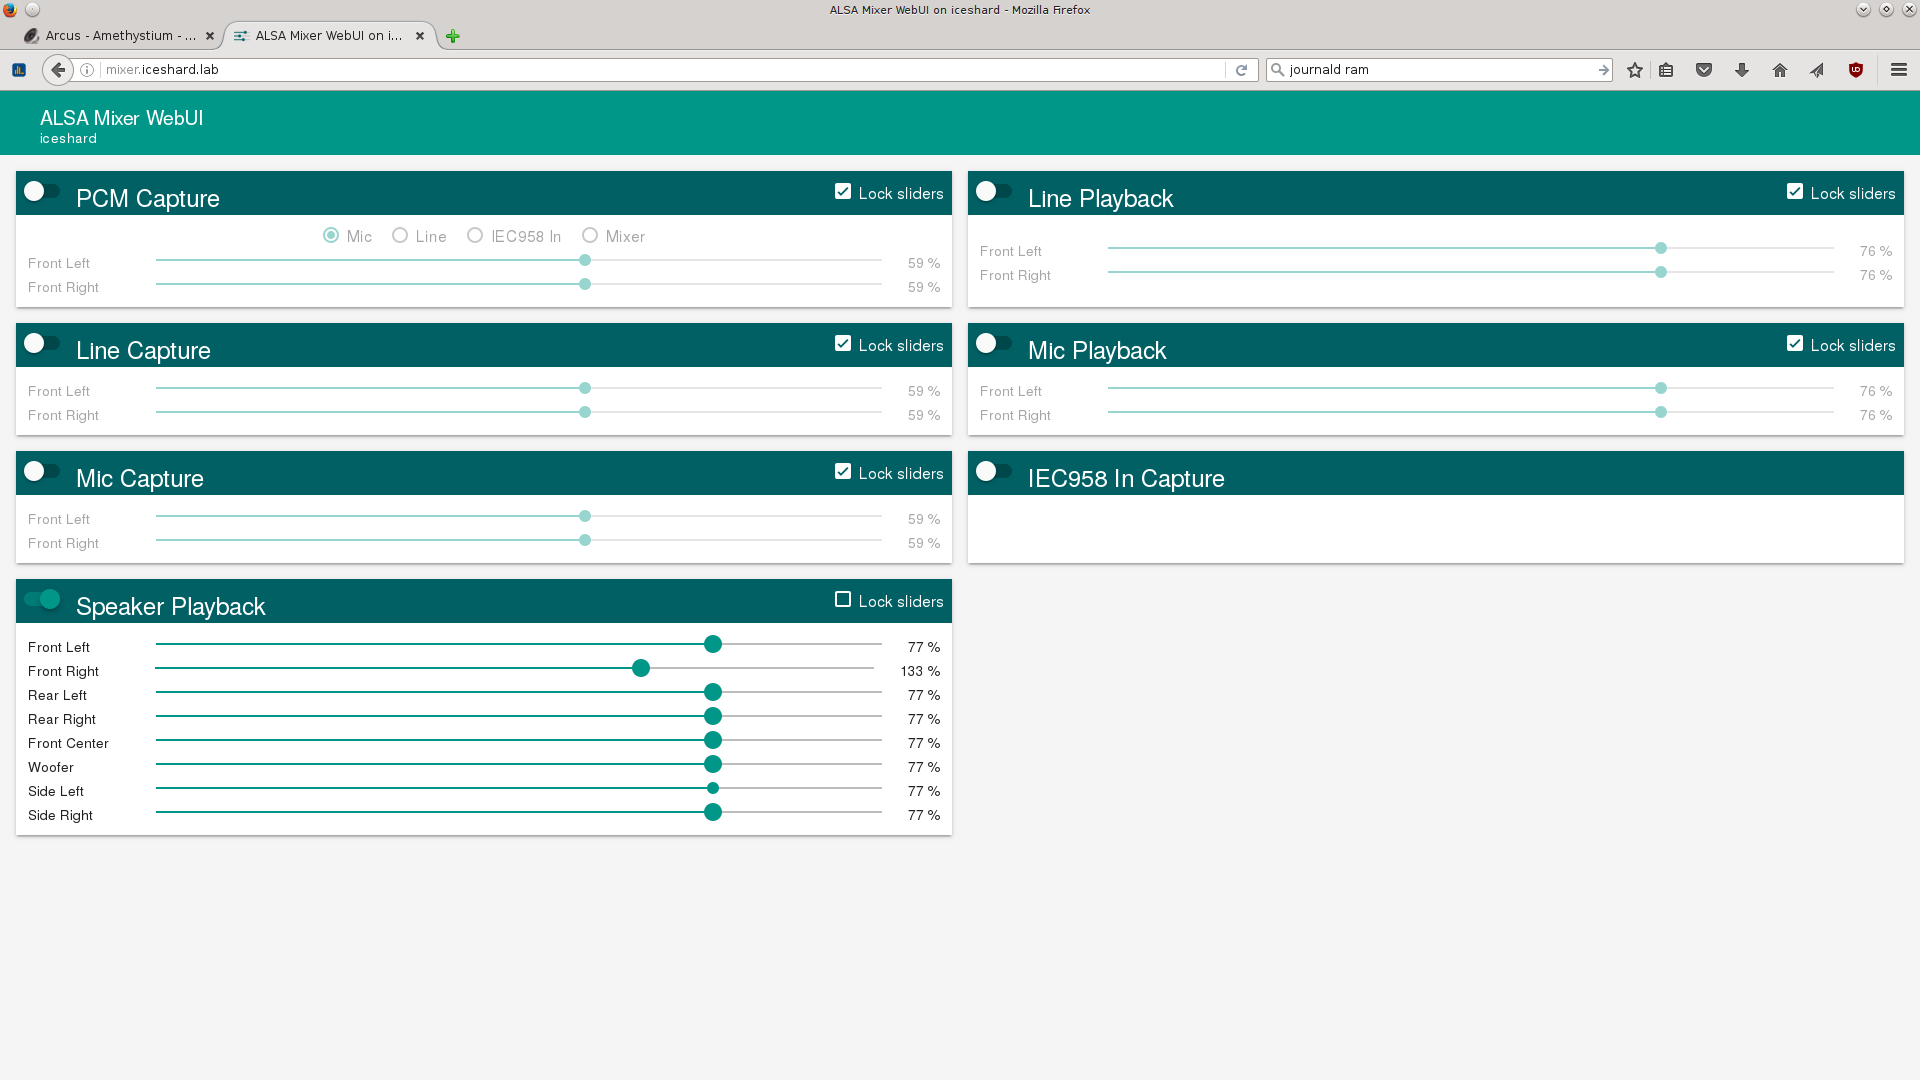
- alsamixer-webui – web interface for alsa sound mixer
- nginx – serves as a reverse proxy and allows to switch between alsamixer and groovebasin web-ui.
- aura – an embedded rpc library. A lua script called shard-ctl uses it to communicate with the hardware to turn on and off relays on the board
- A few bash scripts and systemd units that control things like cooling and mounting root filesystem
WIFI & Time
The wifi is brought up using debian’s /etc/network/interfaces.d/ mechanism. Since the device lacks an RTC it’s a good idea to fix the date/time when the device starts up. Here’s my /etc/network/interfaces.d/wlan0
auto wlan0
iface wlan0 inet dhcp
        wpa-ssid frostgate
        wpa-psk  hackmedude
        post-up  ntpdate -s arvale.lab
N.B. Remember to replace arvale.lab with the ntp server of your choice. I use a local openwrt router as a ntp server
Systemd units
The startup sequence is quite tricky. After debian’s usual services like ssh and network are up, we need to power on the usb<->sata bridge, wait till it’s detected by the system and mount the disk drive with the collection. Next we need to start the groovebasin service and power on the amplifier modules.
This is done by three unit files:
groove-mount (A bad name, but it’s what’s left of pre-systemd shell scripts. Right now it only turns on power at the start)
[Unit]
Description=powers on disk

[Service]
Type=oneshot
User=root
ExecStart=/usr/local/bin/groovemount
WorkingDirectory=/

[Install]
WantedBy=groovebasin.service
The /usr/local/bin/groovemount is a really dumb script:
#!/bin/bash -x export PATH=$PATH:/usr/local/bin:/usr/bin/:/usr/sbin shard-ctl --usb 1 on sleep 3 shard-ctl --usb 2 on sleep 3 shard-ctl --relay 1 on sleep 1 shard-ctl --relay 2 on exit 0 |
srv.mount (mounts the disk when it’s detected)
[Unit]
After=groove-mount.service

[Mount]
What=/dev/disk/by-uuid/2B234EA2293F197A
Where=/srv

[Install]
WantedBy=groovebasin.service
Wants=groove-mount.service
Finally, goes the groovebasin.service (The debian package lacked one, so I wrote one). Note the working-directory directive that points groovebasin to a directory where a relevant config.json is stored. It resides on the external hard disk.
[Unit]
Description=groovebasin music player
Documentation=http://groovebasin.com/

[Service]
User=root
ExecStart=/usr/bin/groovebasin
WorkingDirectory=/srv/groovebasin/

[Install]
WantedBy=multi-user.target
These scripts are tied with dependencies and systemd will rule out which one to start first. It looks and works IMO way better than pre-systemd shell scripts I used before.
groovebasin’s config.json
{
    "host": "0.0.0.0",
    "port": 8081,
    "dbPath": "groovebasin.db",
    "musicDirectory": "/srv/",
    "mpdHost": "0.0.0.0",
    "mpdPort": 6600,
    "encodeQueueDuration": 8,
    "sslKey": null,
    "sslCert": null
}
Nothing really fancy, mostly taken from the example. I removed the API keys directives, since you’ll need your own there.
/etc/asound.conf
Since most music contains only two channels we’ll need to do some upmixing using alsa. Apart from that, even with SoC sound devices disabled, usb sound card has the id 1, not 0 so groovebasin will not work out of the box.
Here’s my /etc/asound.conf that solves all these issues:
pcm.!default {
  type plug
  slave {
    pcm "ch51up"
  }
}

ctl.!default {
  type hw
  card 1
}


# for 5.1 speakers
pcm.ch51up {
         slave.pcm "hw:1,0"
         slave.channels 6
         type route
         ttable.0.0 1
         ttable.1.1 1
         ttable.0.2 1
         ttable.1.3 1
         ttable.0.4 1
         ttable.1.4 1
         ttable.0.5 1
         ttable.1.5 1
}
Fan and amplifier control
The iceshard baseboard contains three relays. Like the internal usb ports, they can be controlled via the command line utility called shard-ctl.
In my setup relay 1 and two 2 on the power to front and rear/lfe amplifier modules respectively. The third relay is used to control the fan.
I’m using smartctl to find out the current temperature of the disk drive and either turn on or off the fan in a simple hysteresis fashion.
#!/bin/bash TEMP=`smartctl -A /dev/sda|grep Temperature_Celsius|awk '{print $10}'` if [ $TEMP -lt "35" ]; then shard-ctl --relay 3 off fi if [ $TEMP -gt "40" ]; then shard-ctl --relay 3 on fi echo "Current temp: $TEMP" |
The only thing I needed is put this script in /usr/local/bin and tell cron to run it every minute.
The web stuff
Basically we have 2 distinct web apps. Groovebasin (written in nodejs) and alsa-mixer (written in python). To make them both want to share the same port 80, I used nginx as a reverse proxy.
The OpenWRT sitting in my lab assigns this device the ‘iceshard.lab’ dns name, and I’ve also told it to route player.iceshard.lab and mixer.iceshard.lab request there as well. After, I added nginx on the player itself with these directives.
Here’s my nginx.conf:
server {
        listen 80;

        server_name player.iceshard.lab;
        client_max_body_size 64m;

        location / {
                proxy_pass http://127.0.0.1:8081;
                proxy_http_version 1.1;
                proxy_set_header Upgrade $http_upgrade;
                proxy_set_header Connection 'upgrade';
                proxy_set_header Host $host;
                proxy_cache_bypass $http_upgrade;
                proxy_set_header X-Real-IP $remote_addr;
                proxy_set_header X-Forwarded-For $proxy_add_x_forwarded_for;
        }

}

server {
        listen 80;

        server_name mixer.iceshard.lab;

        location / {
                proxy_pass http://127.0.0.1:8080;
                proxy_http_version 1.1;
                proxy_set_header Upgrade $http_upgrade;
                proxy_set_header Connection 'upgrade';
                proxy_set_header Host $host;
                proxy_cache_bypass $http_upgrade;
                proxy_set_header X-Real-IP $remote_addr;
                proxy_set_header X-Forwarded-For $proxy_add_x_forwarded_for;
        }

}
Auto-shutdown the amplifier modules
When there’s no music playing there’s a quiet white noise coming from the speakers. It’s barely noticeable and starting playback usually makes it even quieter. After I picked a decent power supply it was almost never heard (especially if I have my 3d printer printing or CNC milling something). But in complete silence it becomes annoying as hell and wastes power. So, I’ve made another bash script. It uses mpc to listen to events from groovebasin and polls groovebasin status. When nothing has been playing for over 120 seconds – it shuts down all amplifiers. If something started playing – it brings all the speakers back online.
Obligatory screenshots of the web ui

The desktop app and hotkeys
I used electron as a quick hack to create a nifty desktop app that sits in the tray and pops up when you press Win+A. It also brings up the mixer window as well, by pressing the icon in the tray. Electron is messy, memory hungry and ugly platform that I usually prefer to stay away from, but it this case it was the easiest way to get the job done.
More stuff
This post turned out to be huge as well as the project itself. It had taken a while to accomplish and document even in this simplest form. I’m sorry I didn’t document many things as detailed as they have deserved. If you want to build something like this yourself and help polish the instructions – pull requests at github are always welcome 😉
Opensource
- You can grab the scripts used to create the rootfs at this github repository. Skyforge will build the firmware, install the kernel debs and generate the initramfs and boot.scr. The result will be packaged in a tarball that you can extract onto an SD card (See linux-sunxi wiki for instructions on creating a bootable SD card)
- The ugly electron app can be found at my github as well
- All enclosure designs are created using solvespace and are up on my thingiverse